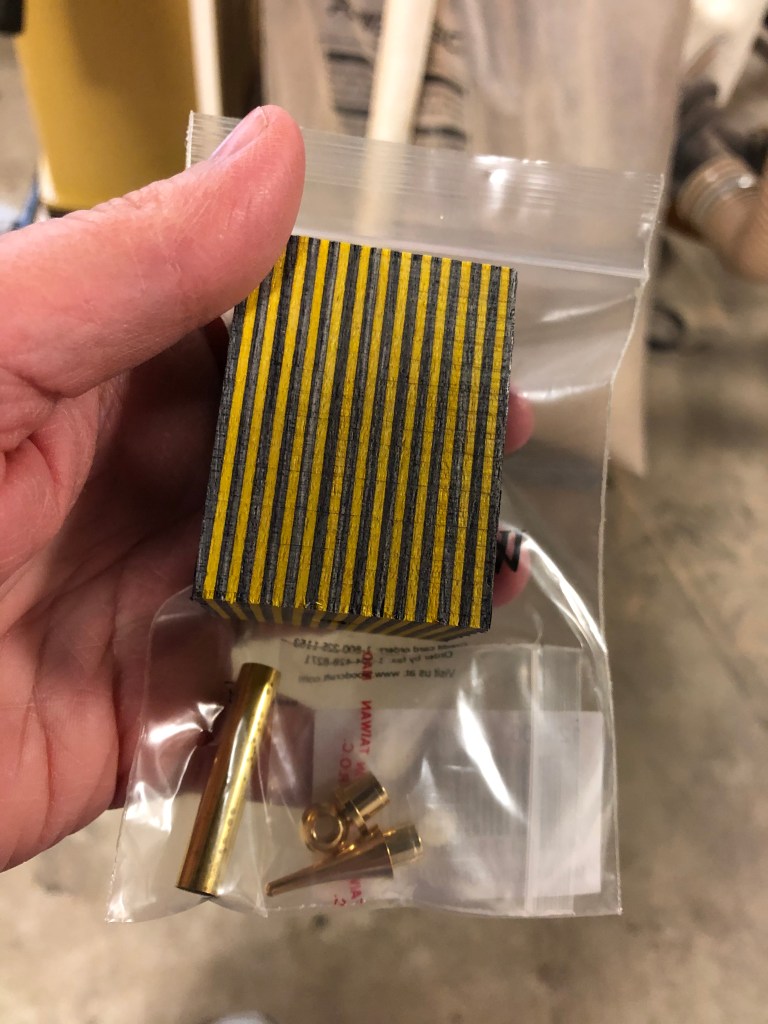
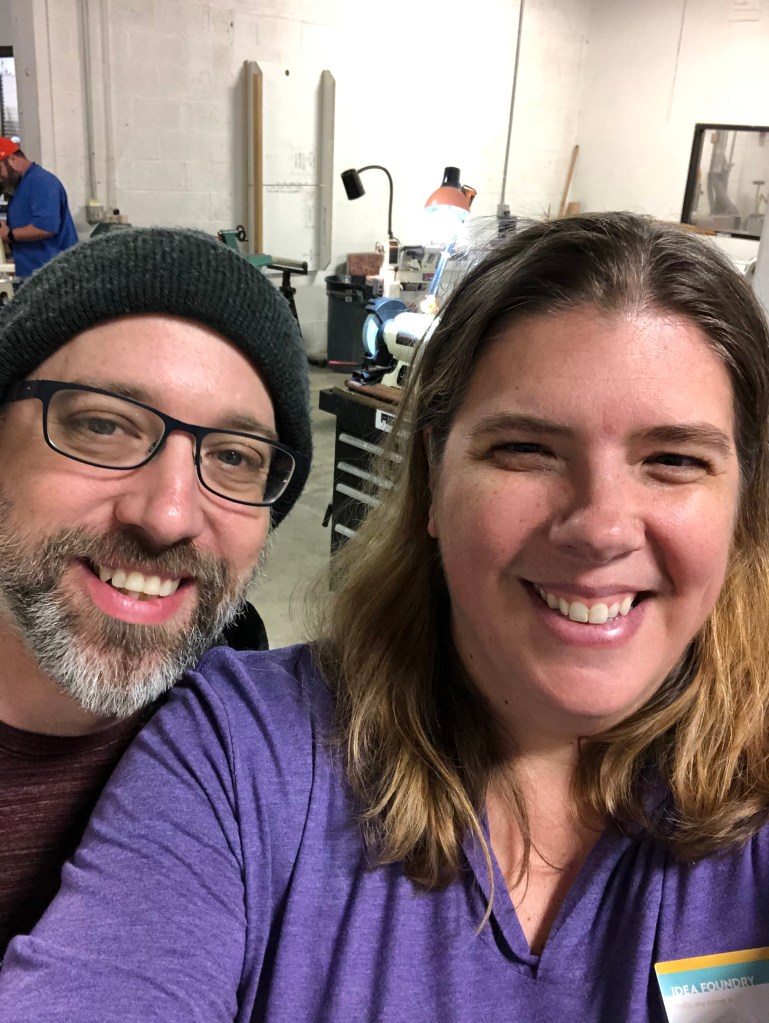
This month, Keith and I got to go to Idea Foundry for their Ornament Turning Date Night. We did not use the lathes at the Valentine Date Night we attended at Idea Foundry in February, so this was a totally new creative experience for us. I feel like we need to try new experiences each month to finish out this year and meet the Create Date parameters. 🙂 We arrived for our class about 10 minutes early, and I really loved the “Grow” sign in the lobby. We got to fill sign in, make name tags, pick out the block for our collaborative ornament, and then we waited for the first demonstration and starting instructions.
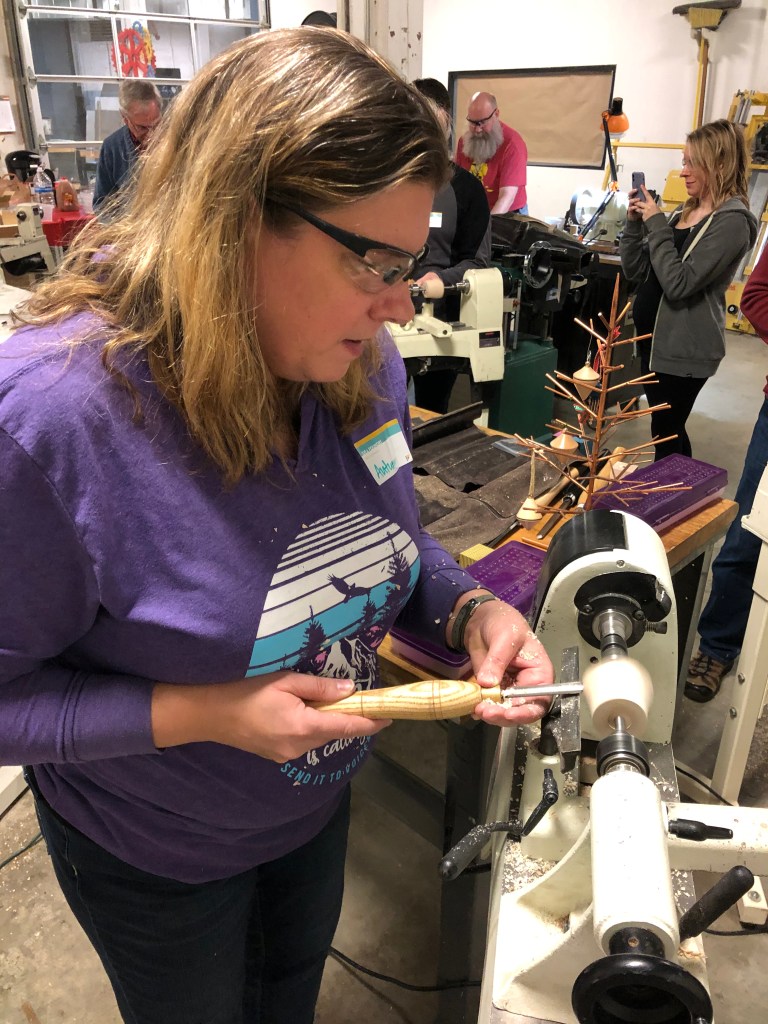
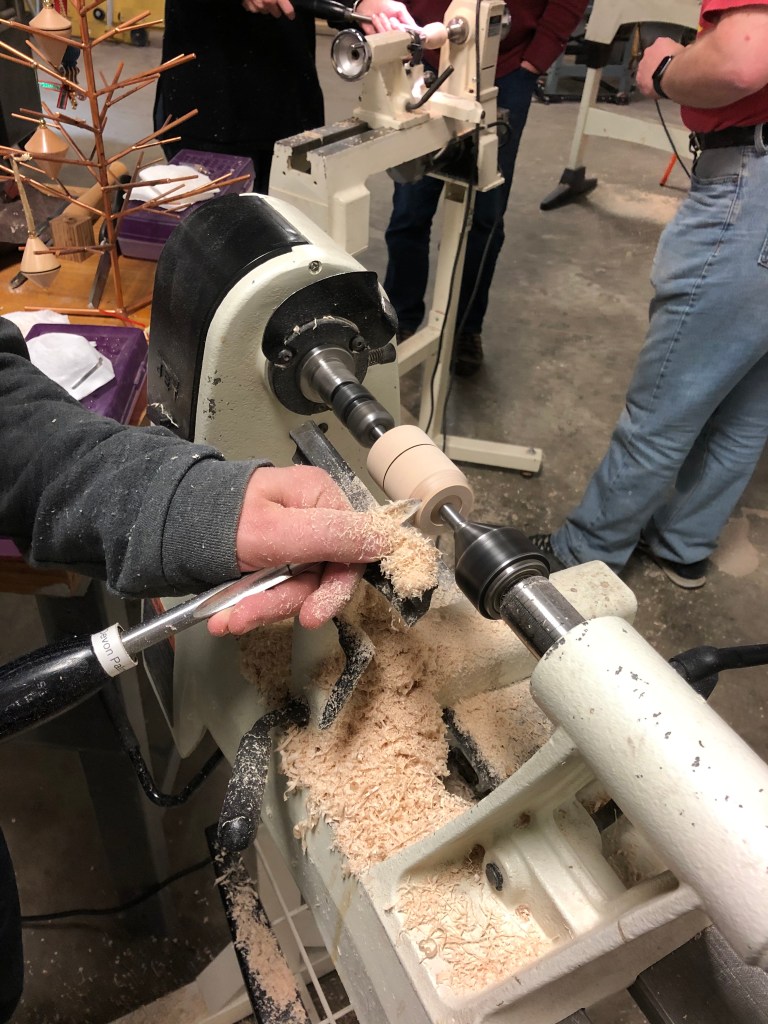
It was decided that I would make the first ornament, so here are some action shots of my ornament from start to finish.
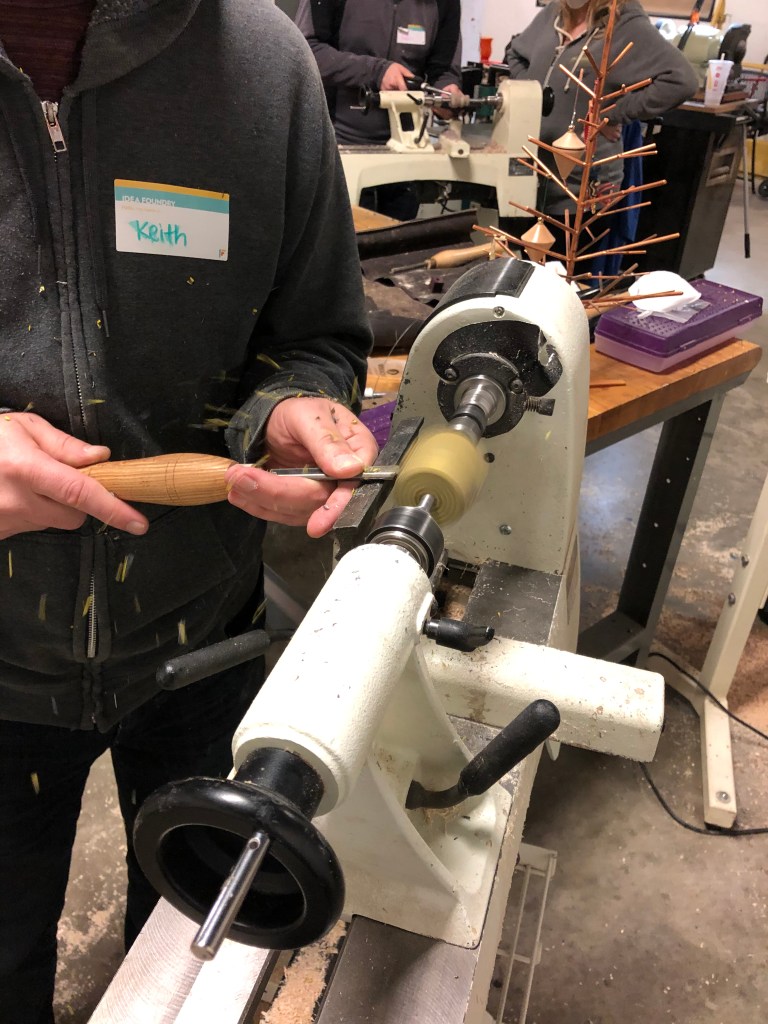
Keith was second to make his ornament. Here are his action shots.
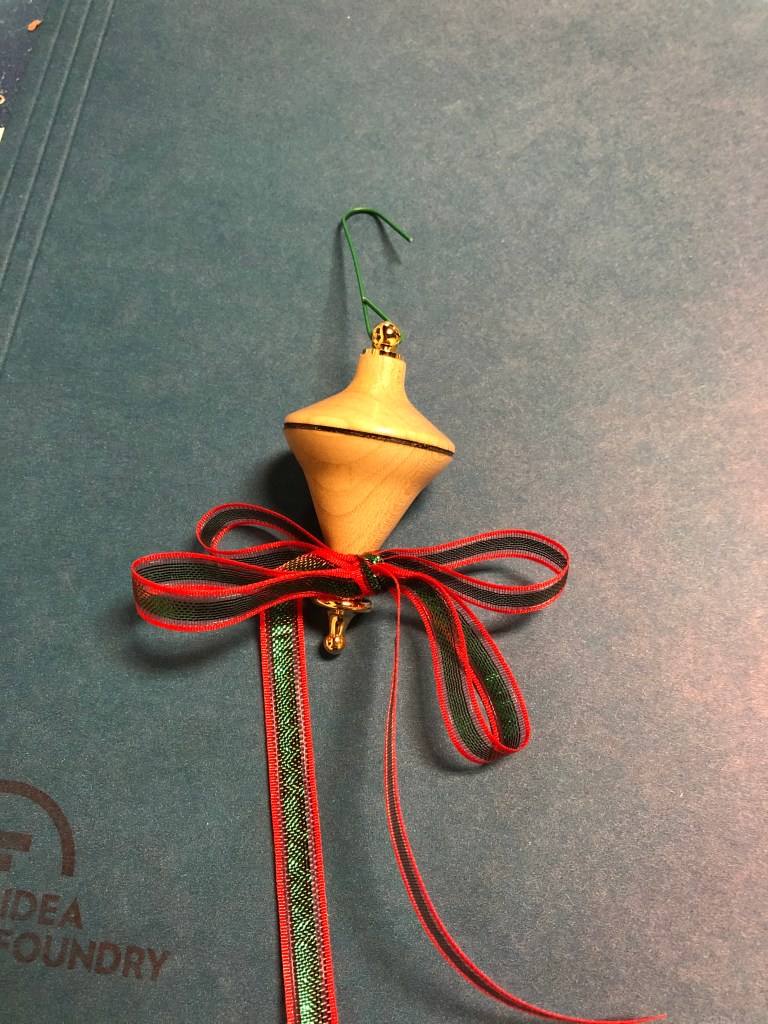
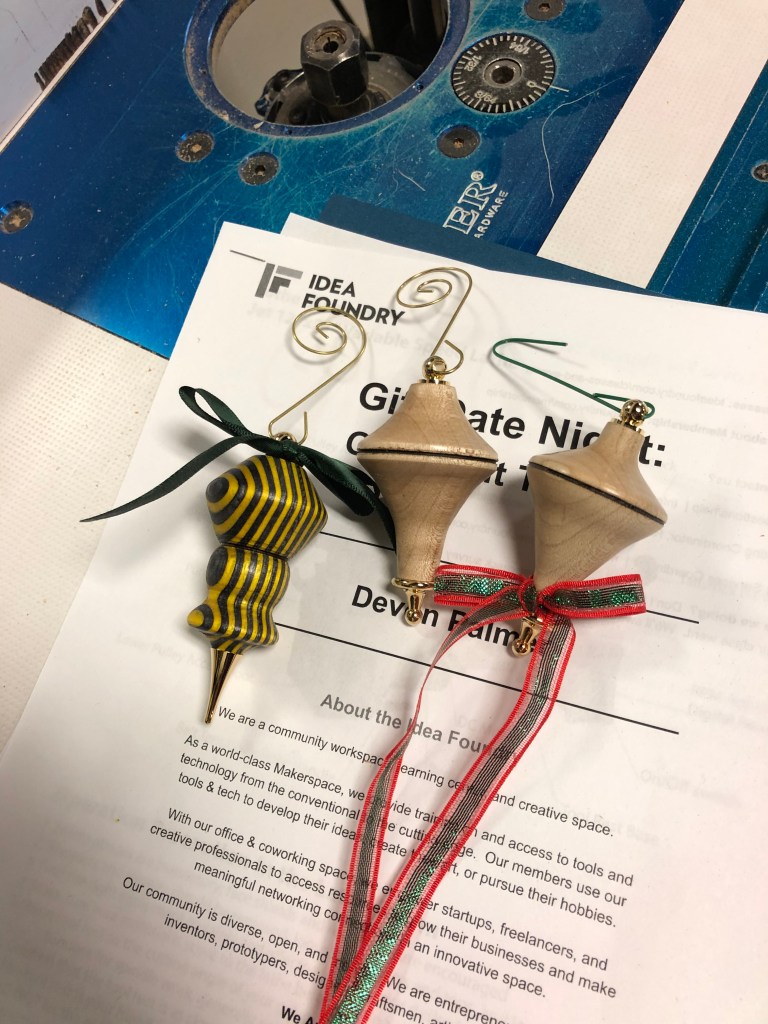
We then got to collaborate on a more intricate ornament. We each worked on a half and got to use a couple of new tools. I think it turned out really pretty!
Keith and I both really enjoyed the process of wood-turning these ornaments, although we did both have moments of frustration as we got used to using the tools. They are definitely beginner level work, but I think they show great potential. With practice, I think we could both really find the process meditative and relaxing. I look forward to putting them on the tree and telling everyone that visits that we made them! What a fun story!
Do you have ornaments with a great origin story? Tell us about your favorites in the comments!
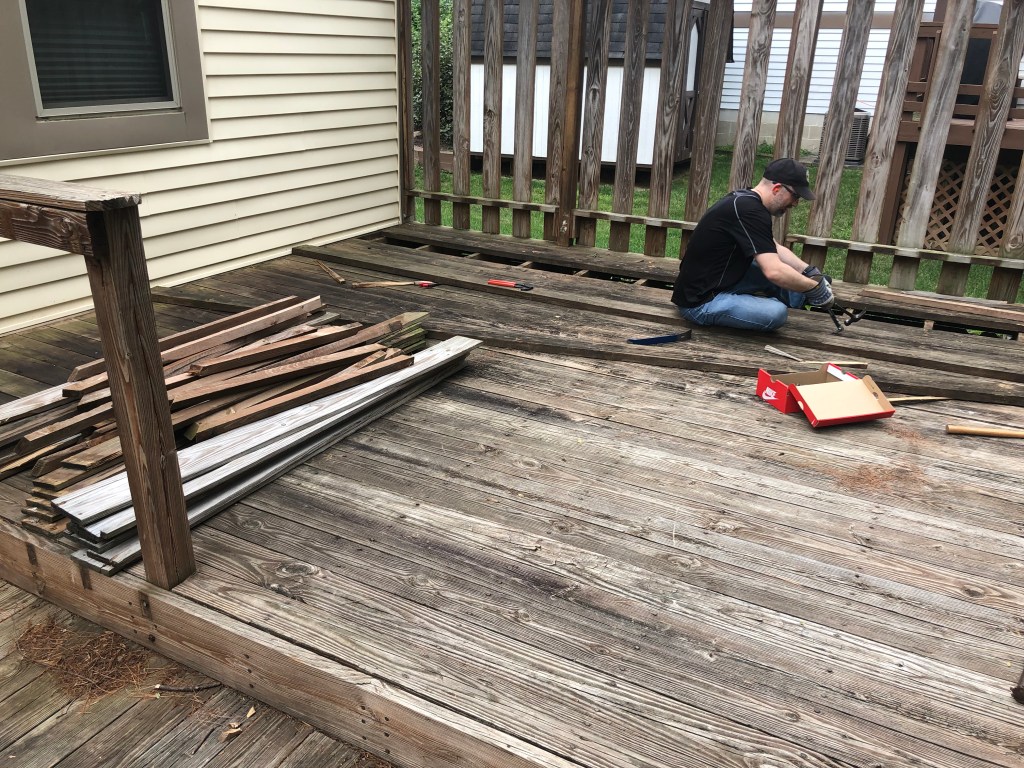
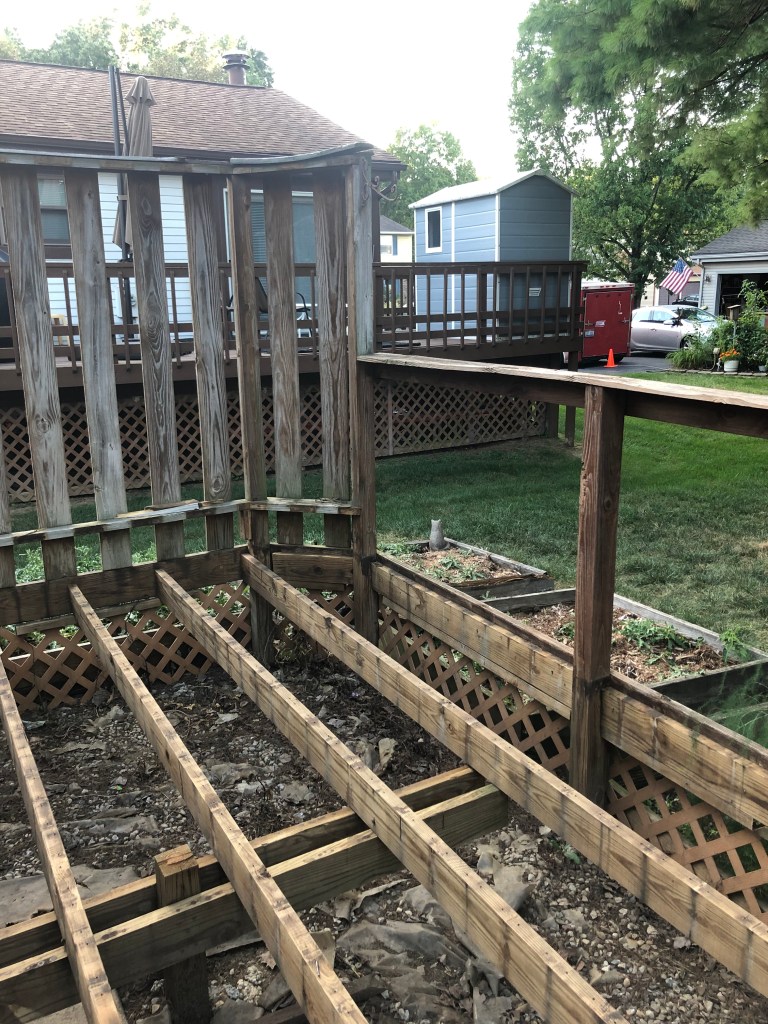
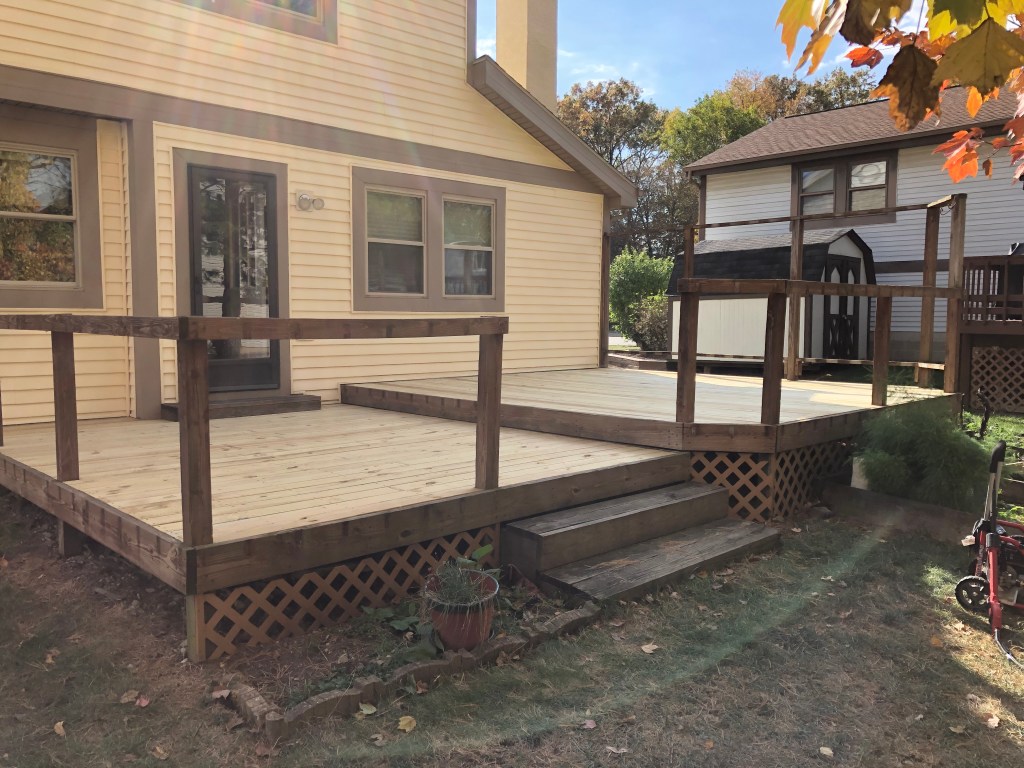
Next May, we will be hosting a high school graduation party. So, in August, we started thinking about what we wanted to accomplish in and around the house before then. One of the big things we needed to address was our deck. The wood was in rough shape when we moved in, and it has not improved no matter how we washed and tried to treat it. So, the flooring, rails, fence pieces, and balusters needed replacing. Knowing that we will (depending on the weather) want to use the deck for extra space during the party, we knew it was time. So, we ordered the wood and Keith got to work tearing out the old flooring boards – we really only had one set of tools for that task, so I just tried to do the indoor chores while he worked outside.
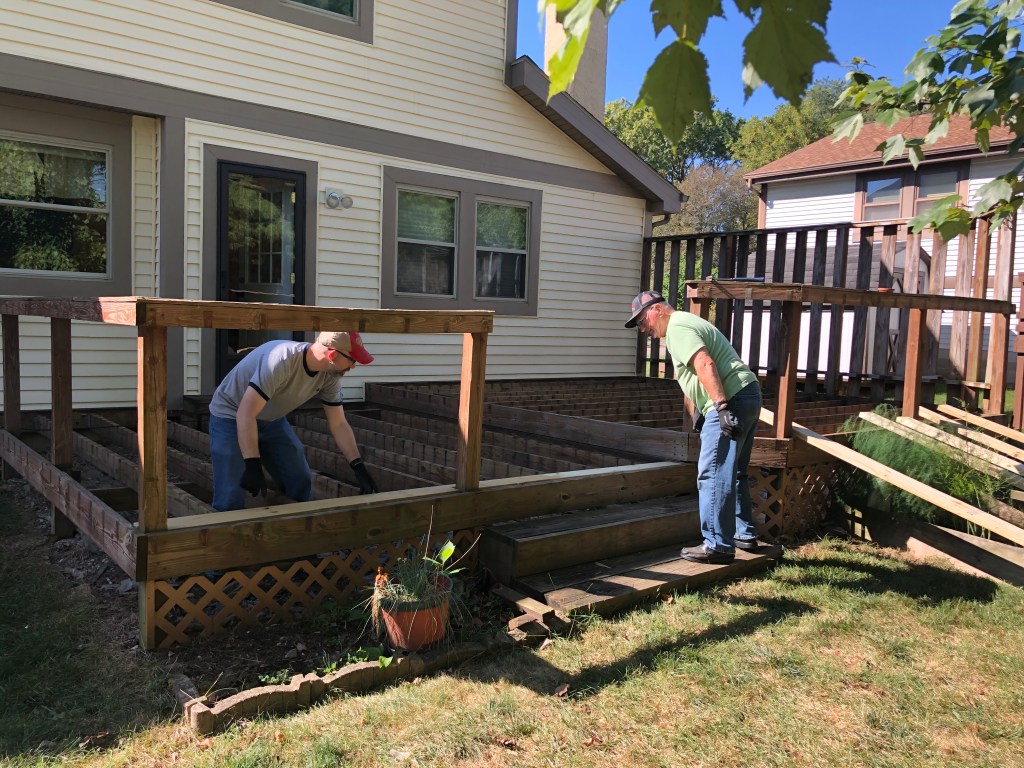
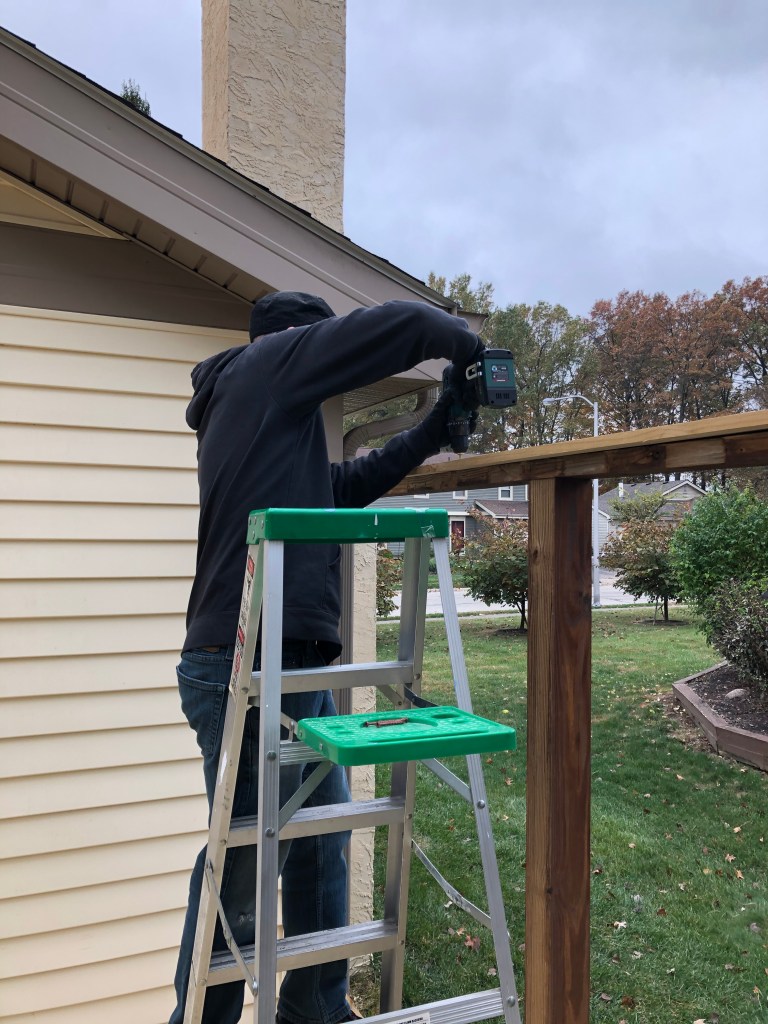
After the old floorboards were out, it was time to get to work! Because of the way the deck is constructed, the boards had to be cut to the right lengths (and sometimes angles) to sink down into the frame. We knew we would need a circular saw for those cuts, and thankfully we were able to borrow circular saws from both of our fathers. We also needed to cut off some nails that we couldn’t remove, so we borrowed a reciprocating saw for that. Lastly, we knew we needed to cut out the boards to fit around posts, so we bought a jigsaw. My Dad also contributed a lovely drill with 2 batteries and two collapsible saw horses. Keith’s Dad brought us a t-square and some really nice gloves that Keith used the whole time. He also came down to help us with the first day of construction. (That was technically September, but it was the only day in September…)
After that, we checked the weather and schedules in October and Keith took 1-2 days off each week to work on the deck. We always got lunch together and worked on the deck as long as we could before we had to start running our kids places in the evenings. Some days we had more hours than others, but we always made steady progress. 🙂
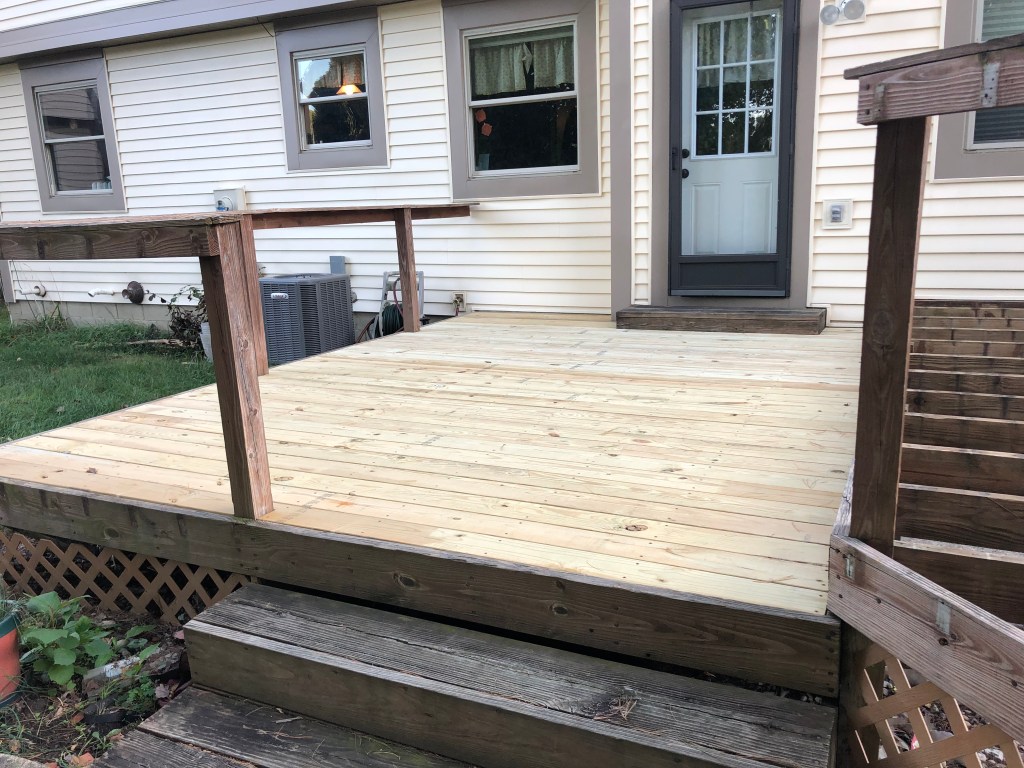
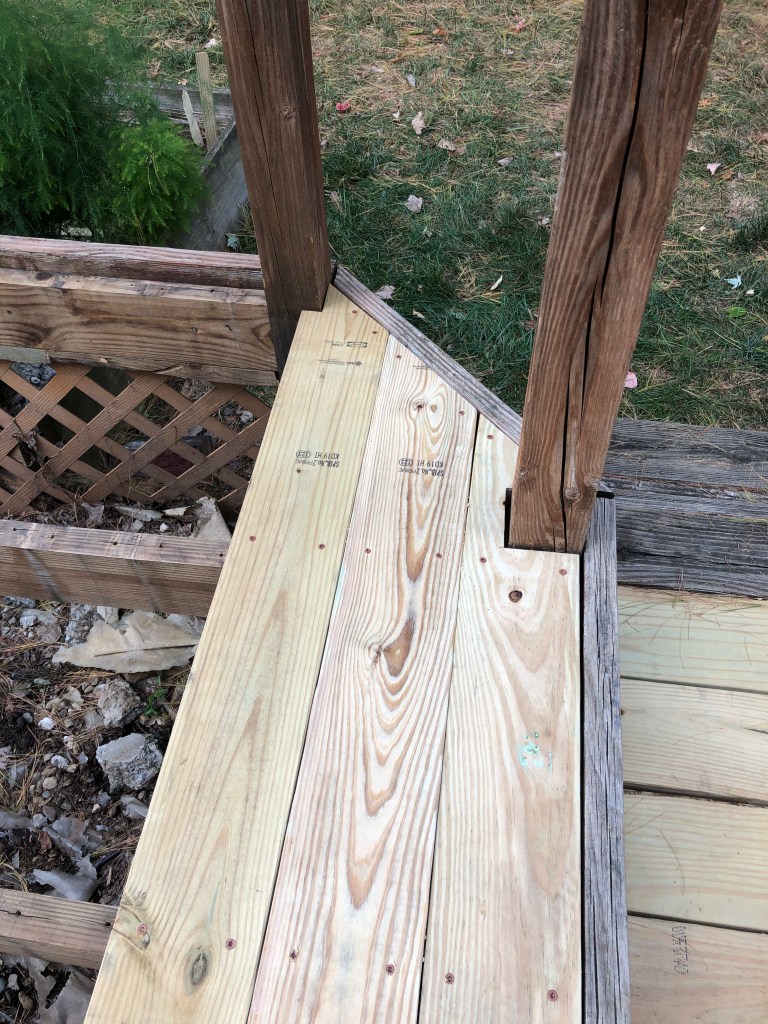
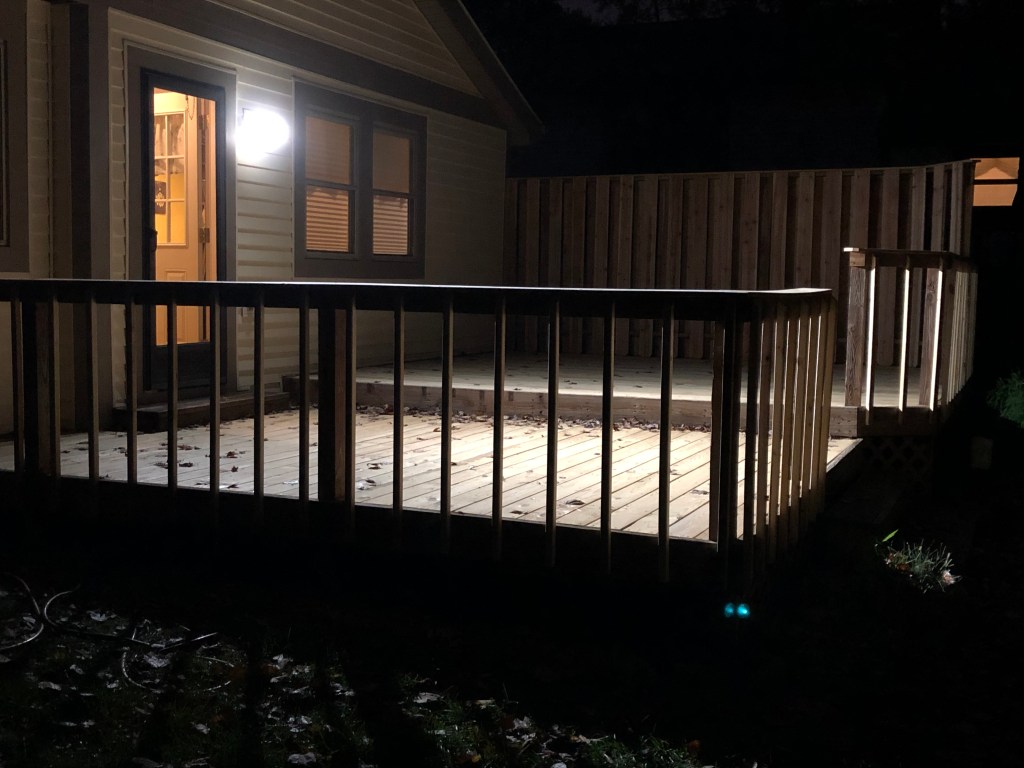
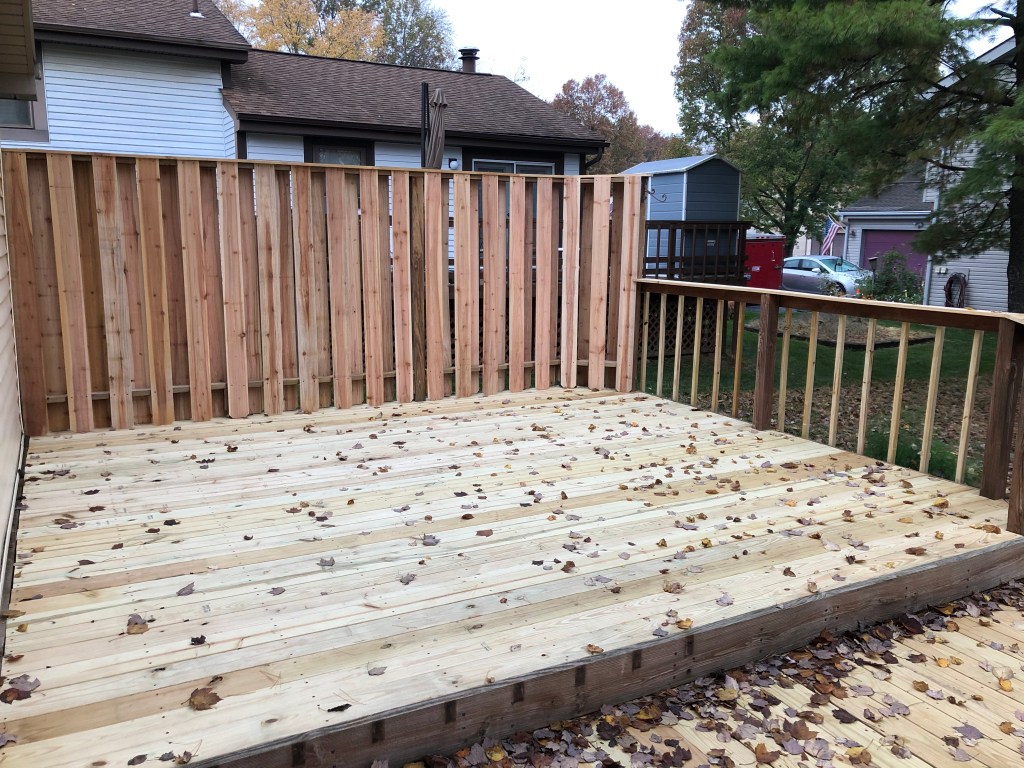
Our next task was to finish ripping up the railings and the privacy fence. We also had to rent a small truck to get the new fence slats to put up – we hadn’t planned to replace them, but they fell apart when Keith took out the ones that were over the floorboards, so we had no choice. We are really happy with how the cedar looks – we think the deck turned out beautifully!
I hope that we will be able to retain the two tone look when we stain and weatherproof it next year – I really think it looks sharp! We love it even more when it is wet – so pretty!
So, while this wasn’t our typical Create Date, I think it more than qualifies as trying something new and creating something that is beautiful! Can’t wait for our next project!
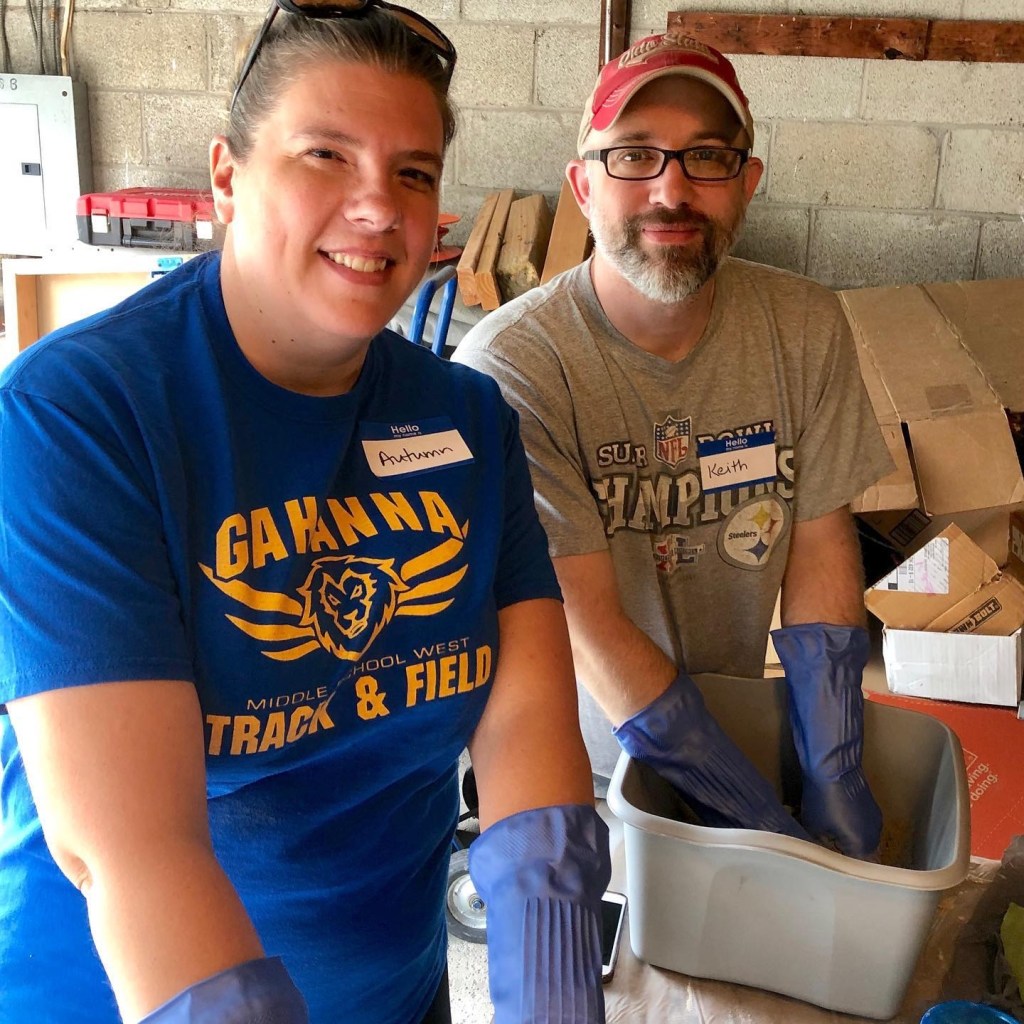
A few weeks ago Keith and I got the chance to take our first class at Columbus Garden School. They are located on Cooke Road near I-71 and they offer all kinds of gardening, crafting, and DIY classes. The class we were able to attend was a Garden Leaves class where we made cement leaves to put in our landscaping.
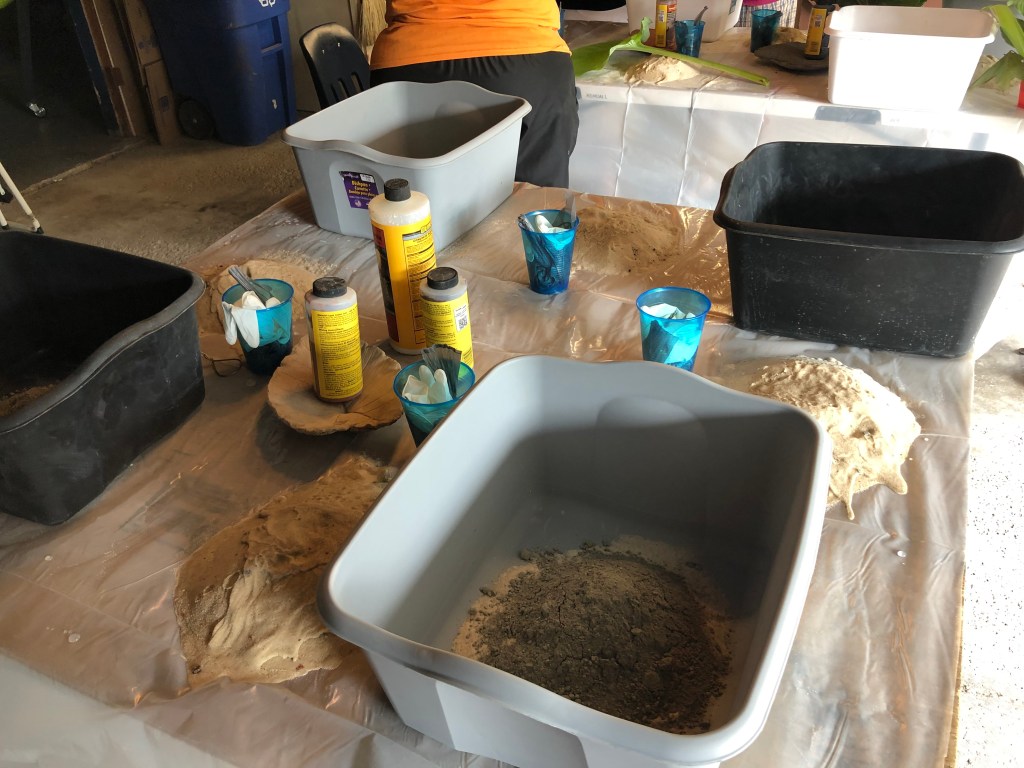
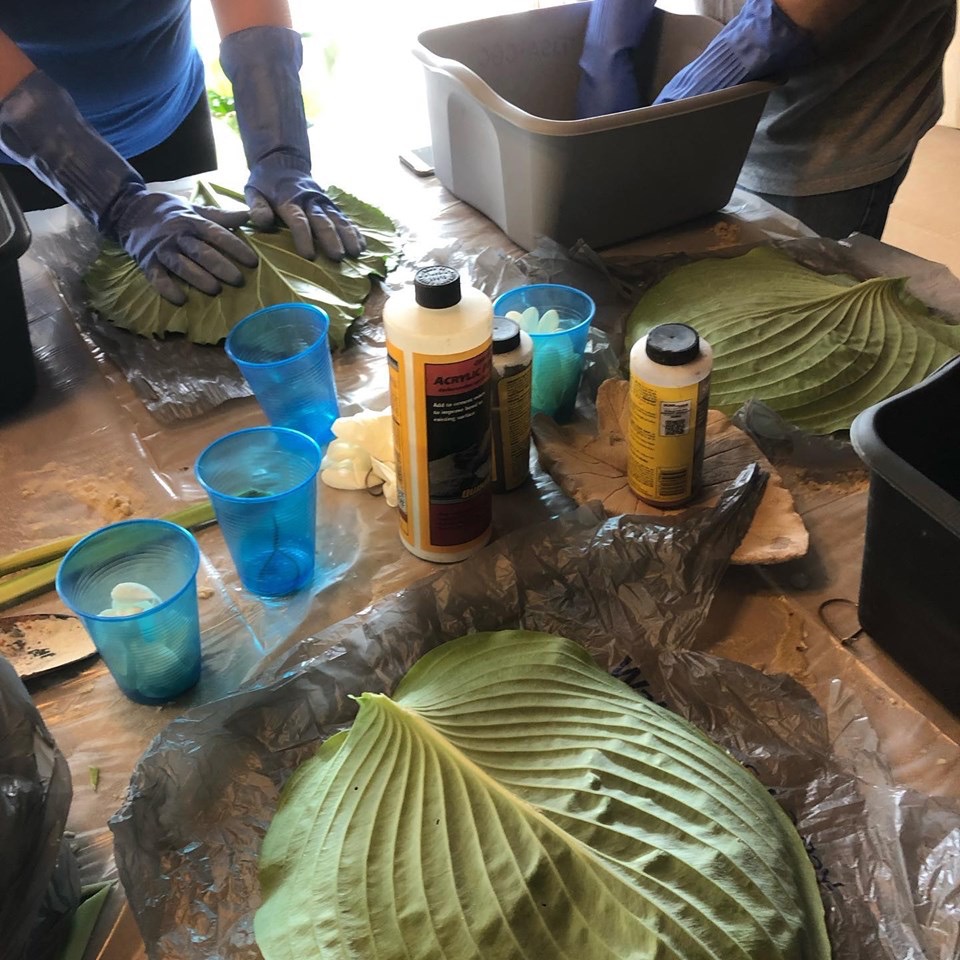
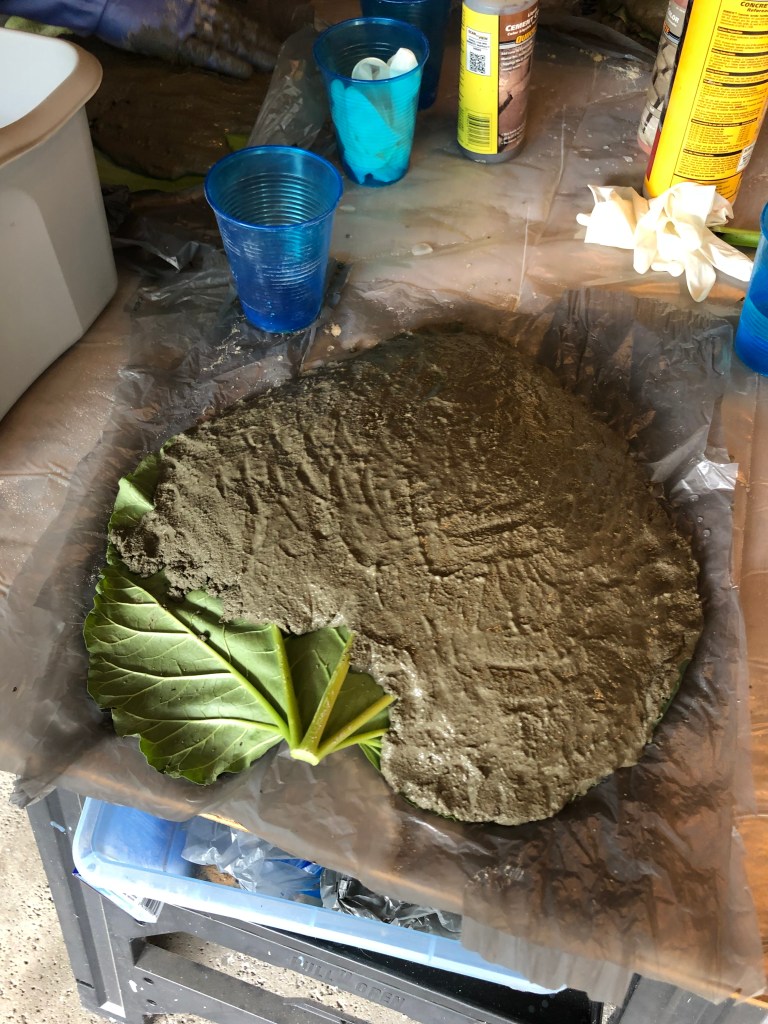
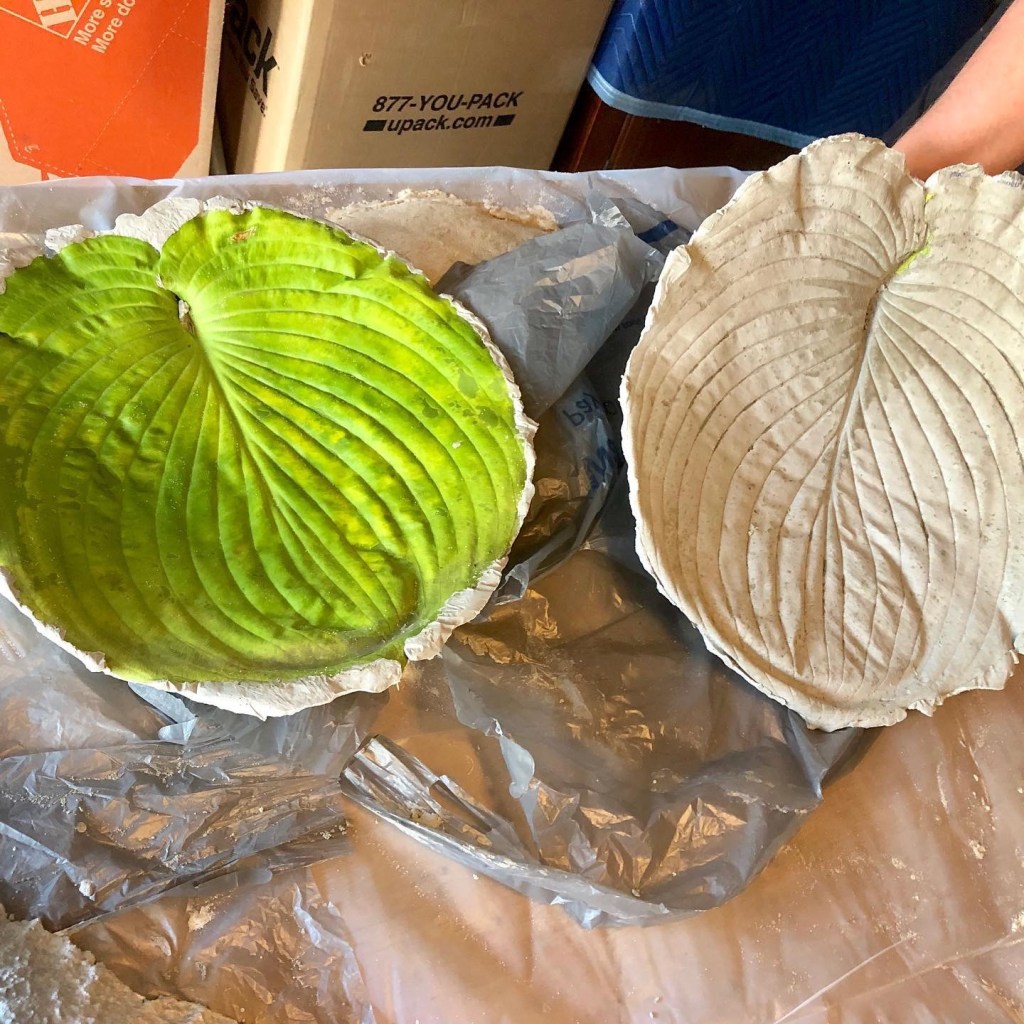
The process was actually pretty straight-forward and a lot of fun! We had to bring any large leaves we had (I had rhubarb) and dishwashing gloves. We started by laying our leaf on a mound of sand covered by plastic. This will allow the leaves to hold water if we wish for them to be bird baths/insect watering containers.
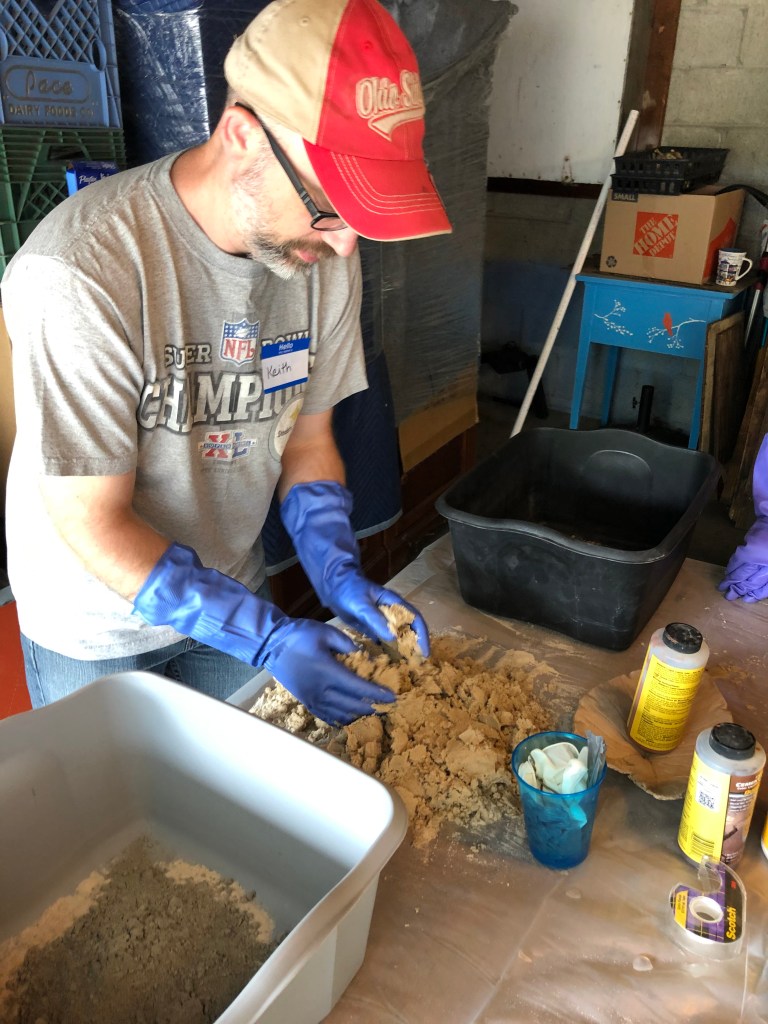
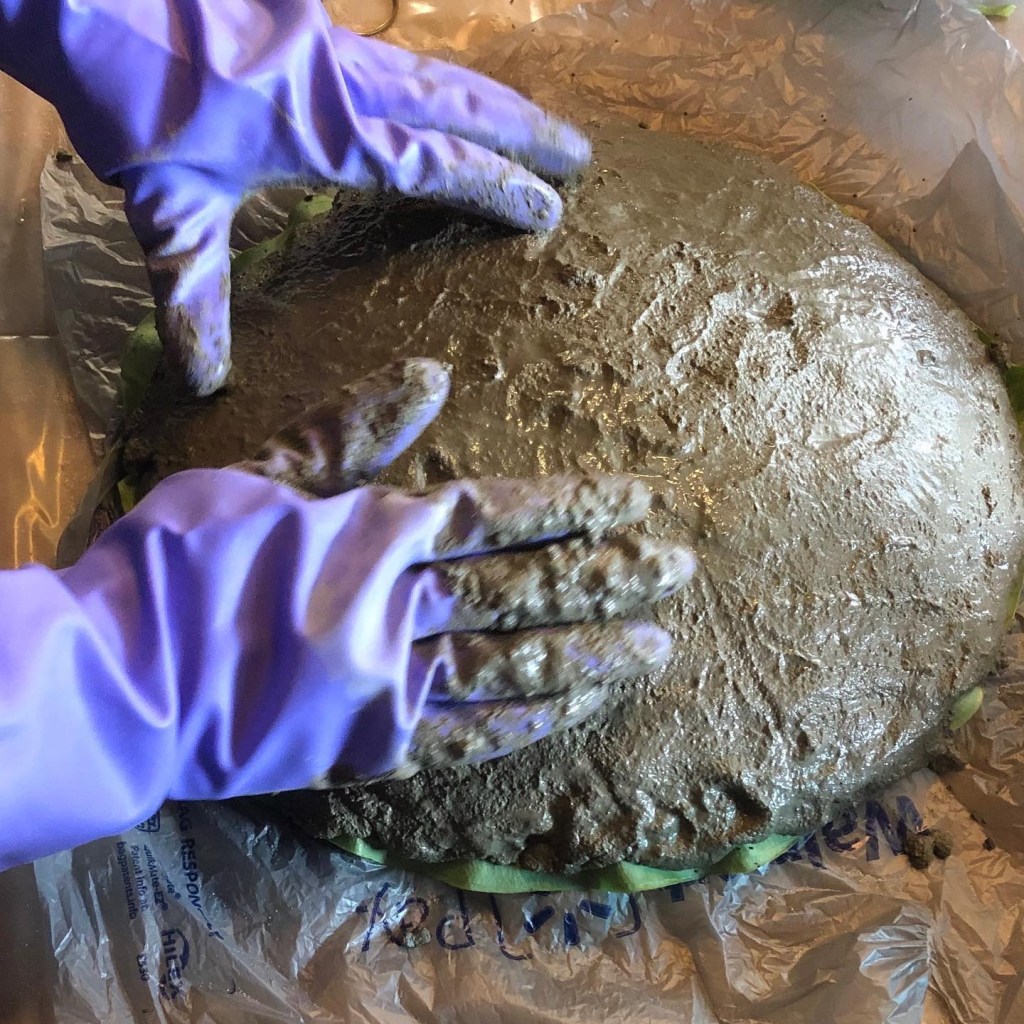
Our next task was to mix a 2:1 ratio of play sand to Portland concrete. We then added water until it reached the proper consistency. Then it was time to carefully cover our leaves with about 1/2″ of the concrete mixture.
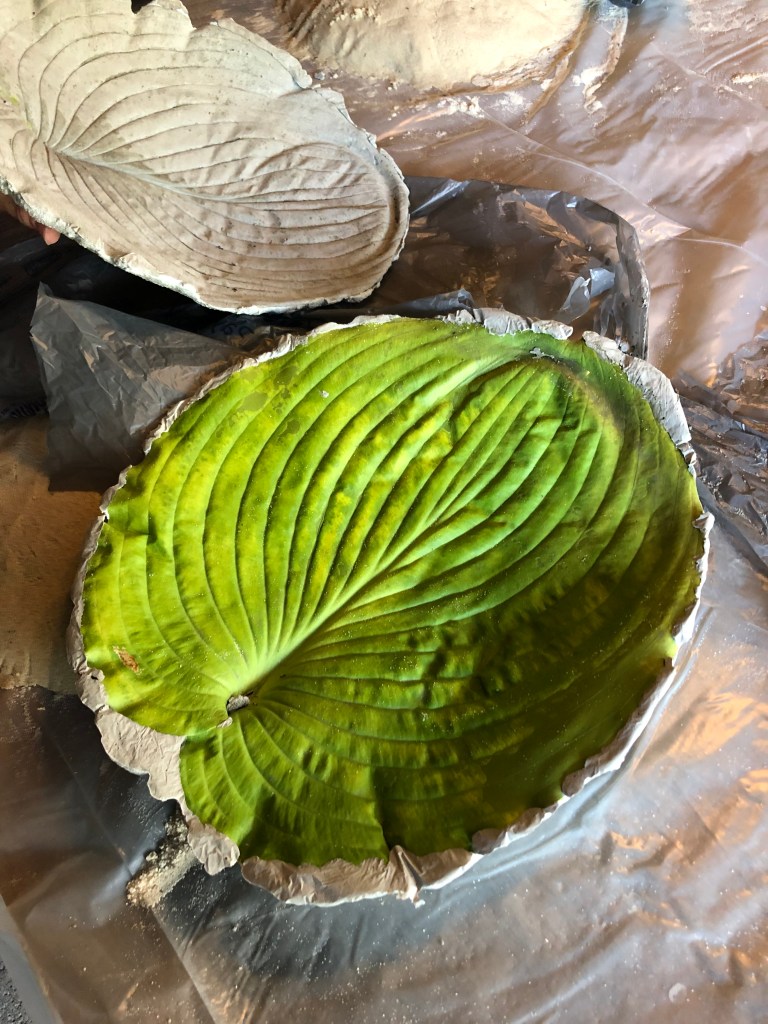
At that point, we had to clean up our supplies and leave them to dry for a couple of days. We also carved our initials in the back. Two days later, I went back to retrieve our finished pieces. I had to tear out the leaves to reveal our awesome concrete garden accessories! How cool do they look?!?
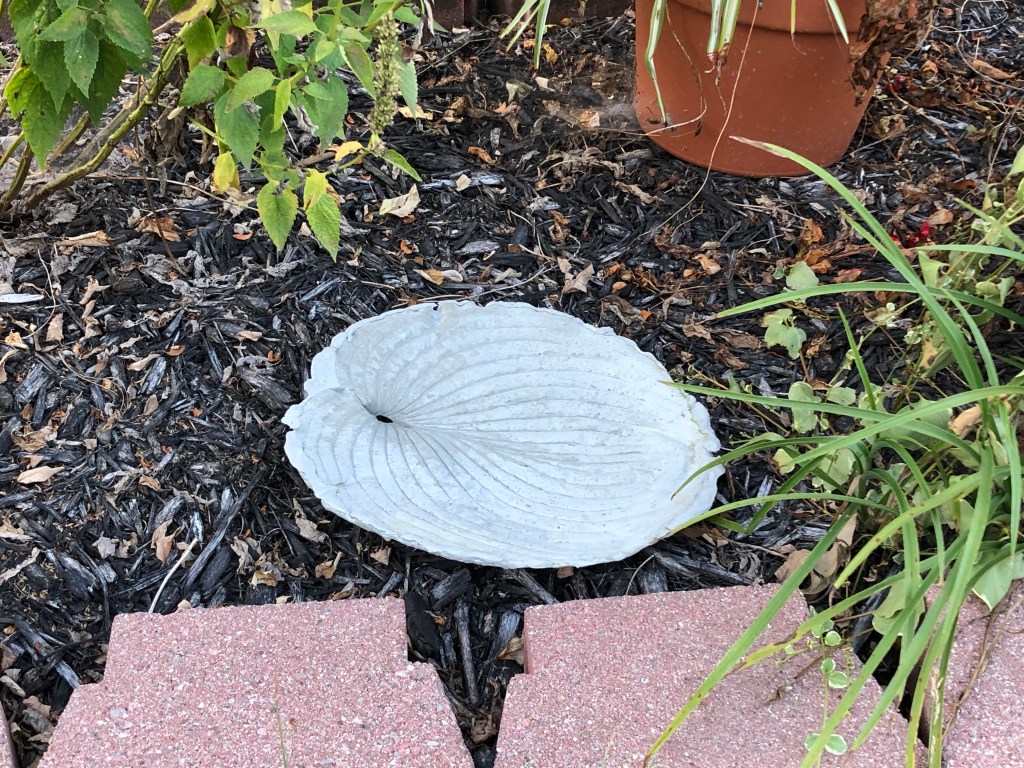
I couldn’t wait to get home and get them in our landscaping! They are super fun, and do hold some water when it rains. I think a cat (Jiji!!) might have laid in mine, so now I get to try to patch it. But, I have photos of how cool it was before it broke…
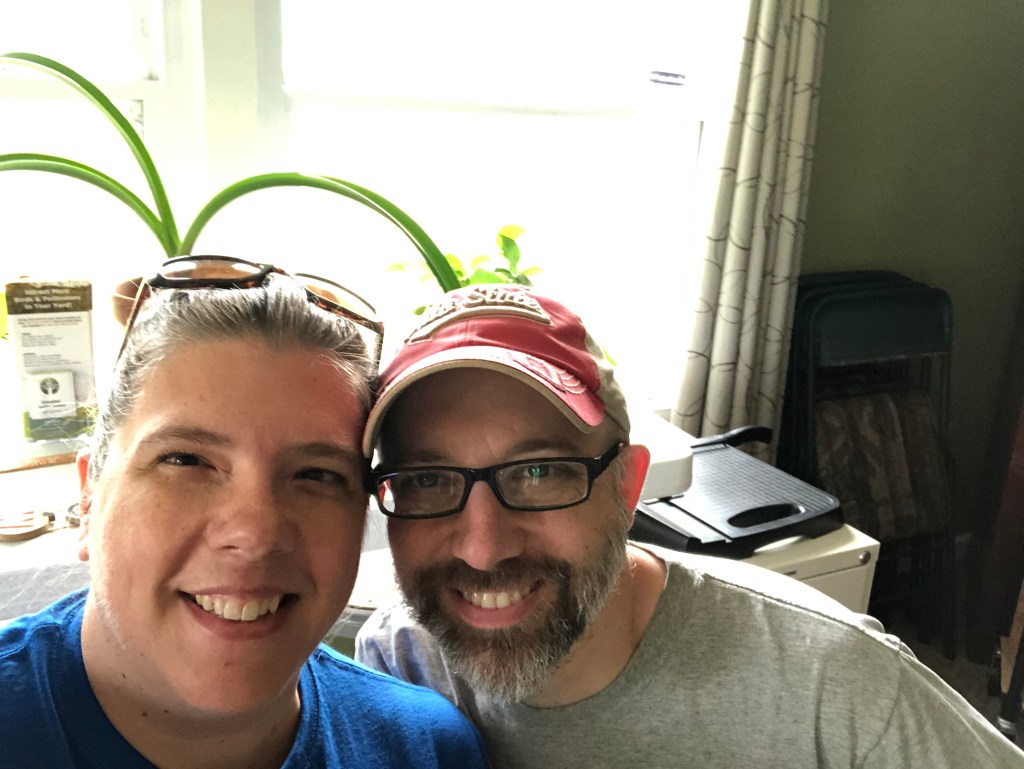
Overall, we really enjoyed this class and would 100% recommend it to anyone. We will be back at Columbus Garden School as soon as our schedule allows. Great experience!
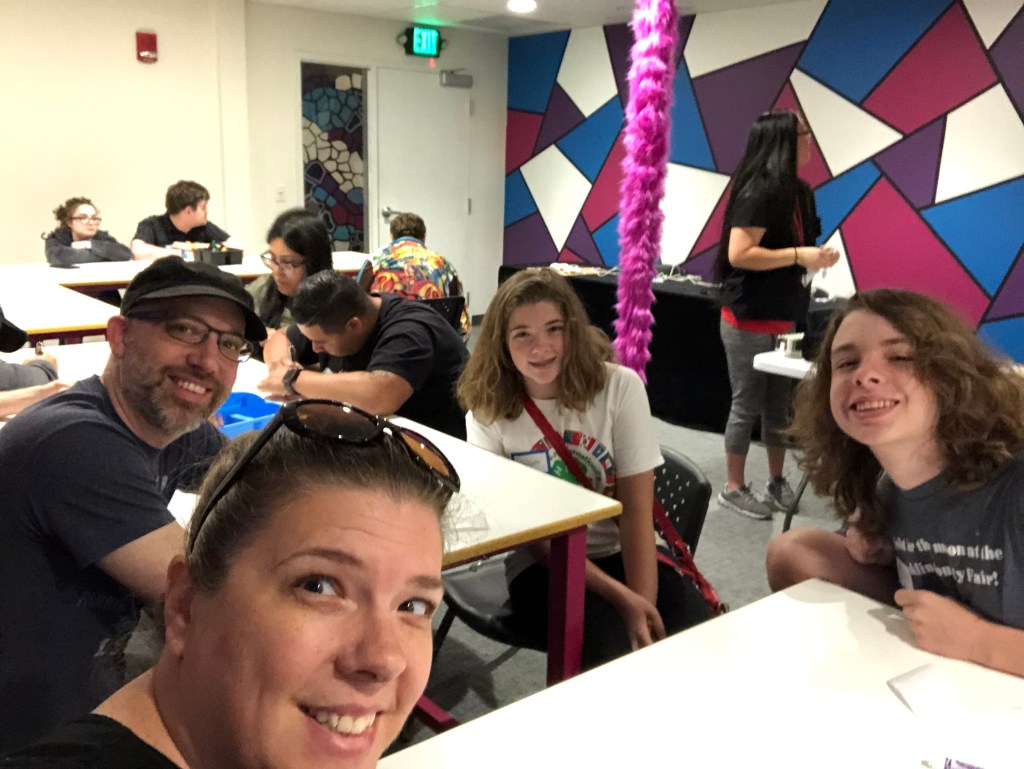
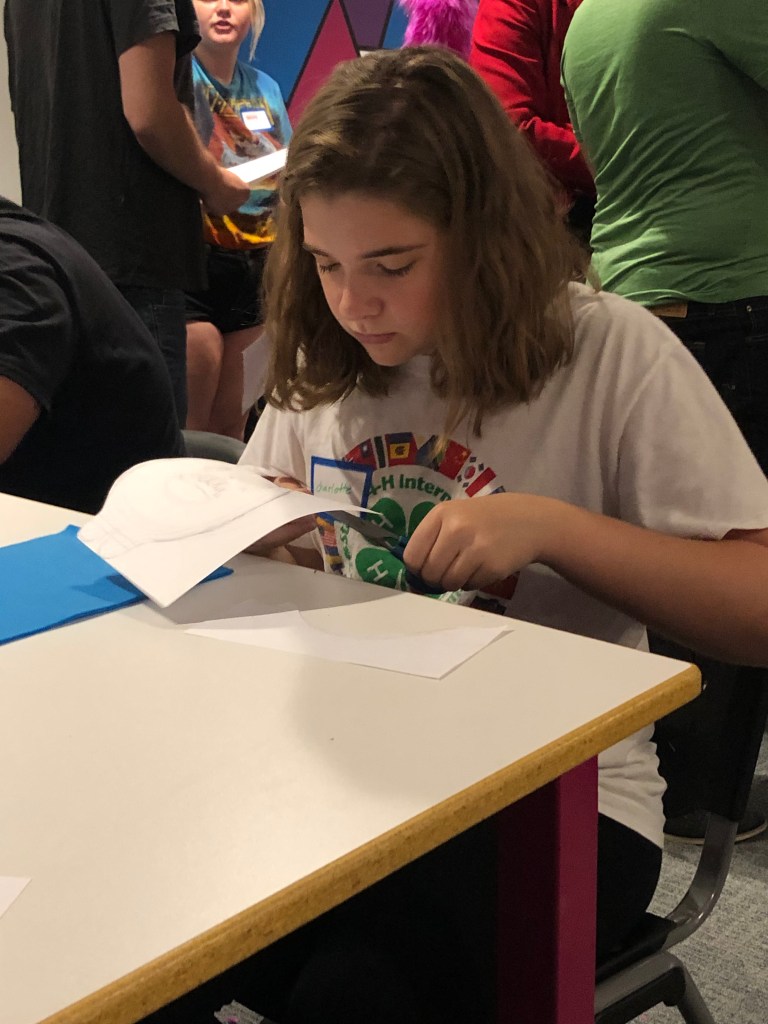
You may recall that one of our June adventure dates was to an art installation called Otherworld. We really enjoyed exploring all of their rooms, but my personal favorite was one with a variety of plush creatures. I am told it is called the Land of Schnoop. Anyway, Otherworld is starting to offer classes, and the first one was a class to design and build an Otherworldly creature! Not only were Keith and I interested in this opportunity, but both kids were excited to sign up, too.
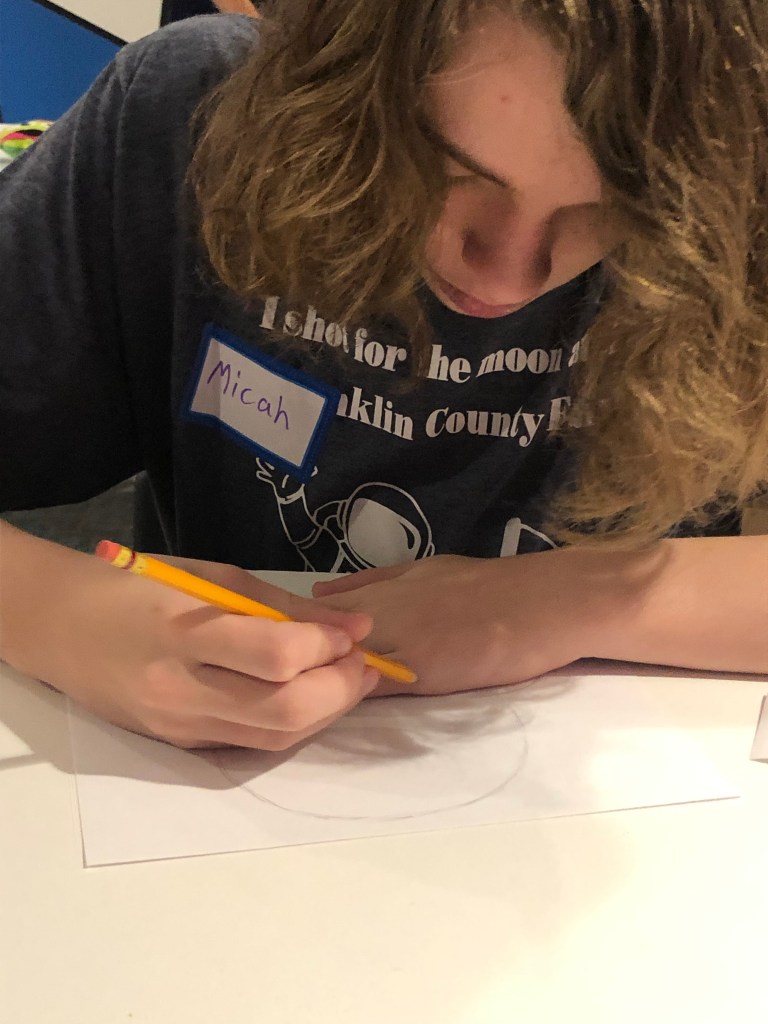
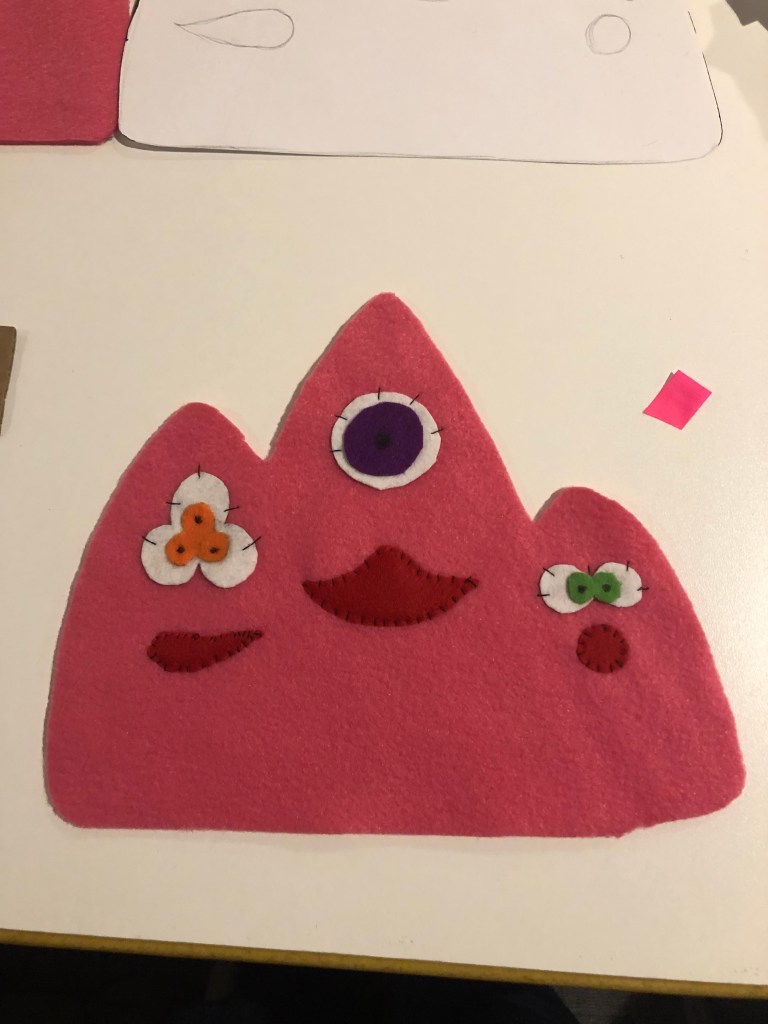
The first step we had to complete was deciding what our creature would look like. They had precut creatures if you really didn’t want to do that part, but they encouraged everyone to try to sketch one out. Everyone has a different creative process, and it turns out that some of our family could sketch out a design and some of us needed to have pieces to play around with to really make design decisions. Both completely valid.
sketches l-r: Charlotte, Autumn, Micah
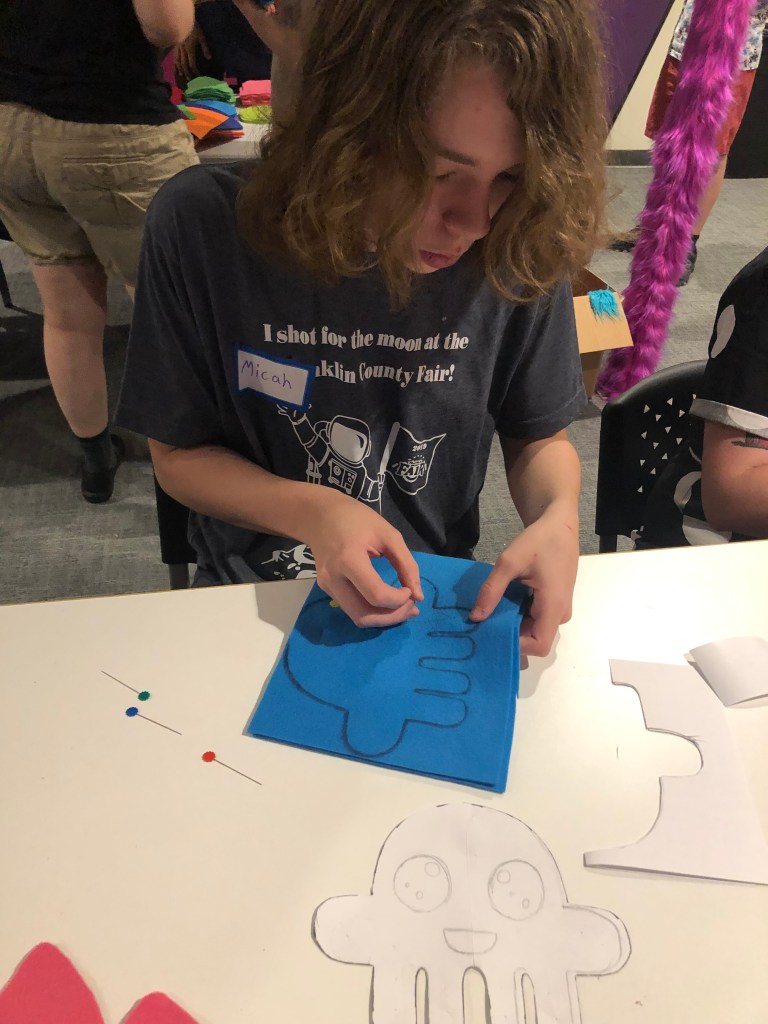
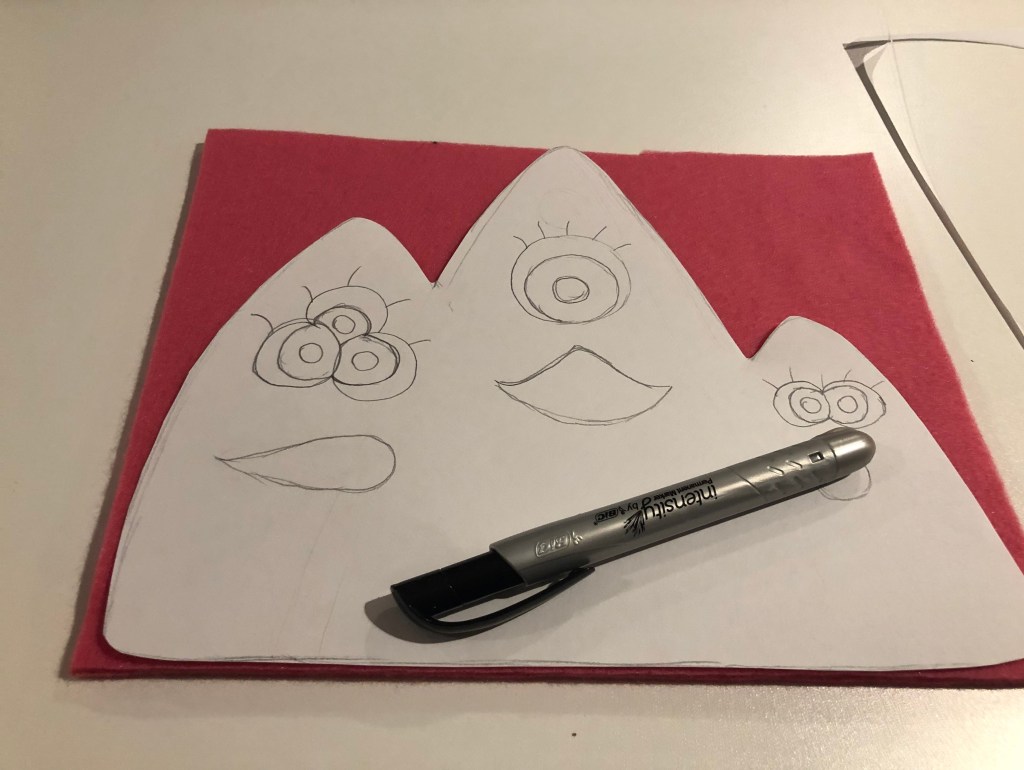
Our next step was to choose fleece for the main body of our creature and felt for the details. As I said, they had some precut options you could also play around with to get ideas. It was at this point that we had to start sharing 2-3 pairs of scissors for 6 people, and while it wasn’t terrible, it would have been quicker if everyone had their own pair.
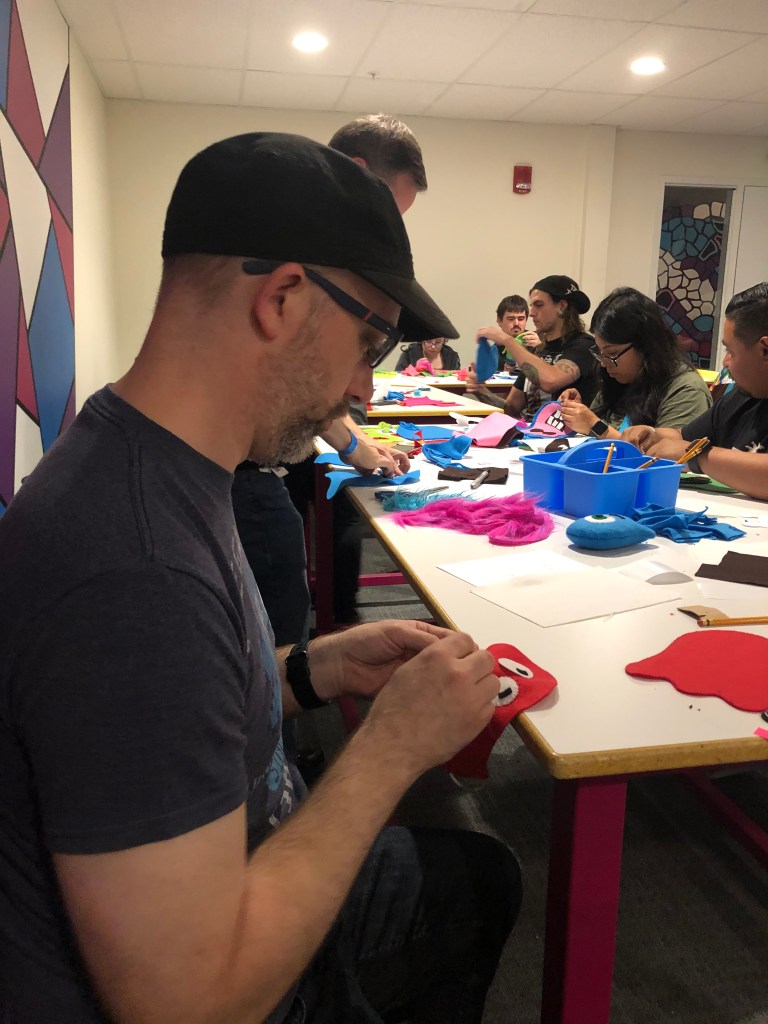
Once all your pieces were cut, you had to attach the features to the fleece using sewing, hot glue, or a combination of the two. We did discover that the combination got tricky if you tried to sew through the hot glue – it was pretty tough to get the needles through. They also had some scraps of fake fur if you wanted to accent your creature with some of that. This step went very smoothly with plenty of glue guns and needles for everyone.
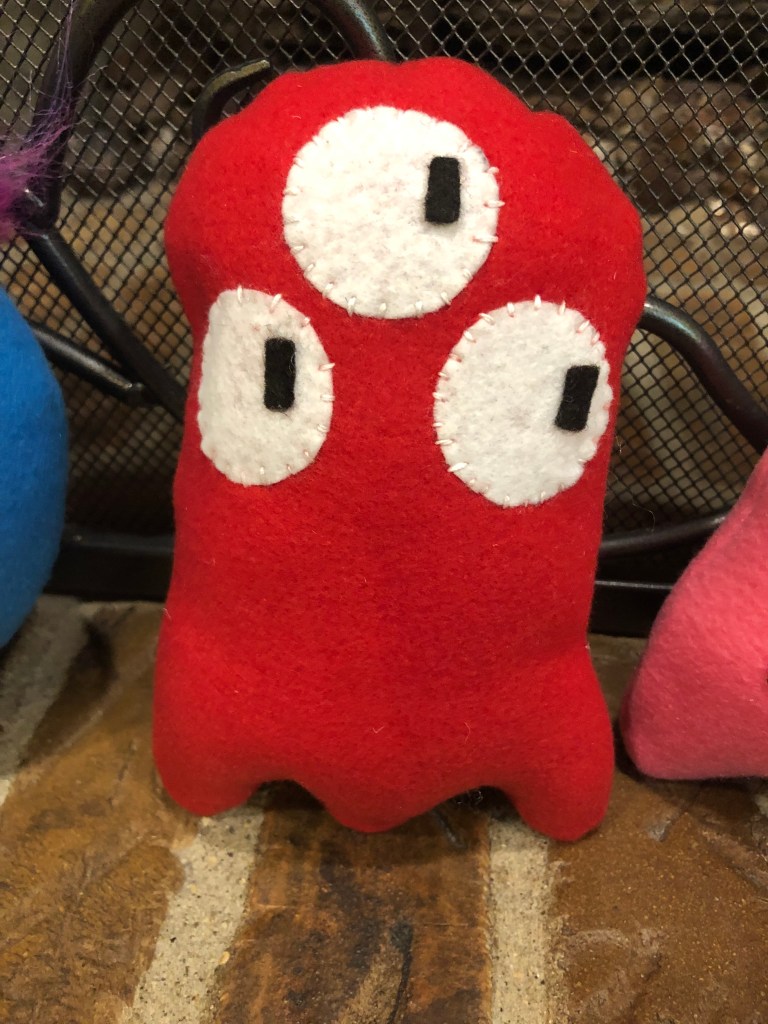
The last couple steps were really where the bottleneck of the class happened. It is quickest to use a sewing machine to sew the front and back of the creature together, but Otherworld only had one sewing machine for the 25 or so people in the class. And yes, you could hand sew, but the class time was supposed to be only two hours. And the Emigh family was hungry. So, the kids ended up having their creatures sewn and stuffed while we were there. They sent us home with more than enough stuffing for Keith and me to finish ours as well. I think this was just a result of it being their first class and them not knowing what to expect. I am relatively sure they expected to have more teens and less adults in the class, but everyone really enjoyed it and made amazing creatures. We LOVE ours!
Charlotte
Keith
Autumn
Micah
We would 100% recommend future Otherworld Makes classes and will definitely try to make it to more in the future. A great experience for our family to make things together, and very reasonably priced at $10/person. Thanks Otherworld! If you have been to Otherworld, what was your favorite room? Let us know in the comments!
**The above photo was taken by the super talented Jerri Shafer and all rights belong to her! Thank you JAMS Photography!!
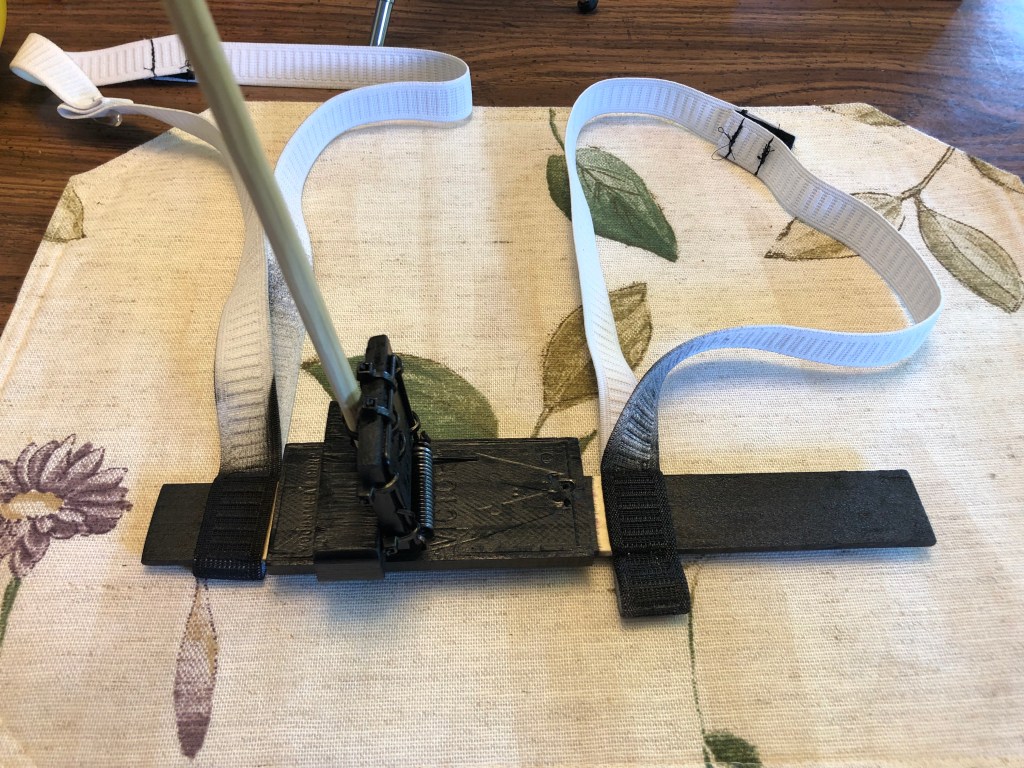
This month’s Create Date was a little different than in the past because we were completely in charge. My husband was playing the part of Concord in Spamalot this summer for Pickerington Community Theatre and he needed an arrow rig so he could appear to be “shot” on stage. We had a very basic idea that we could use a mousetrap as the base of the rig, but everything else was completely made up. And we couldn’t be more pleased with how it turned out!
As you can see in the above photo, we ended up attaching a lot to the mousetrap. The first step was to take off the part that would hold the cheese and the part that would hold the trap open. This left us with just the bar that would normally catch the mouse and the springs that “loaded” it. We then attached a one inch section cut from a 1×2 board to stop the action of the bar with the arrow pointing up. We cut off the rest of the mousetrap back that extended beyond this piece of 1×2 and attached it to the bar with small zip ties. This helped give us something to attach the arrow to and it helped keep the bar from pulling out of the wood. We needed the rig to last at least 4 rehearsals and 6 performances, so we had to do all we could to make it more durable.
The whole mousetrap was then attached to a paint stirrer to stabilize it against my husband’s chest more while he wore it. It also provided something to sew lengths of elastic to so that we could add it and remove it under his costume easily. A couple of quick coats of spray paint so the rig was more subtle and we were in business!
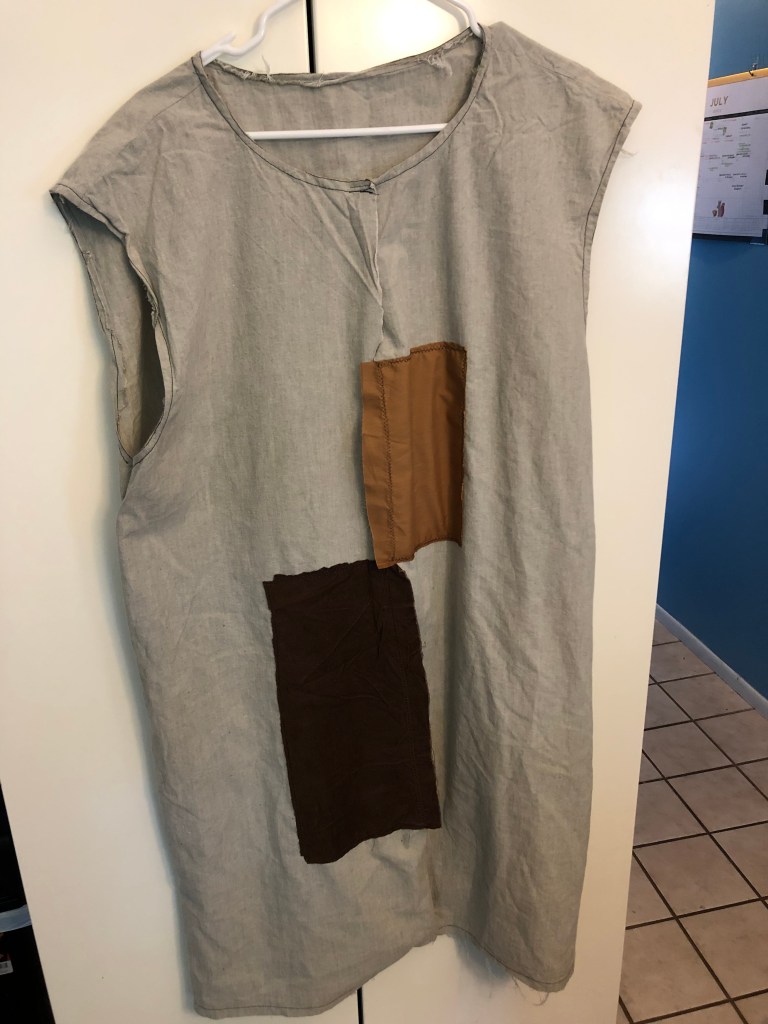
I was able to use my seam ripper to make a long slit down the front of his tunic costume. We then disguised the slit with big patches and a panel of fabric that was behind the arrow rig but still attached to the front of the tunic. This made it possible for him to hide the rig better when he first appeared on stage and made it less likely to show his black under-layer and destroy the illusion when he fell. (The fabric panel and spray paint were unfortunately added after the top photo, but we were very much solving problems as they arose at that point.) We added a black binder clip with a cord that ran out a hole in the side of his costume so he could trigger the rig at the appropriate time and it was done! We were so proud and relieved to have been able to make something that lasted the whole run of the show! It is always fun to be part of stage magic. 🙂
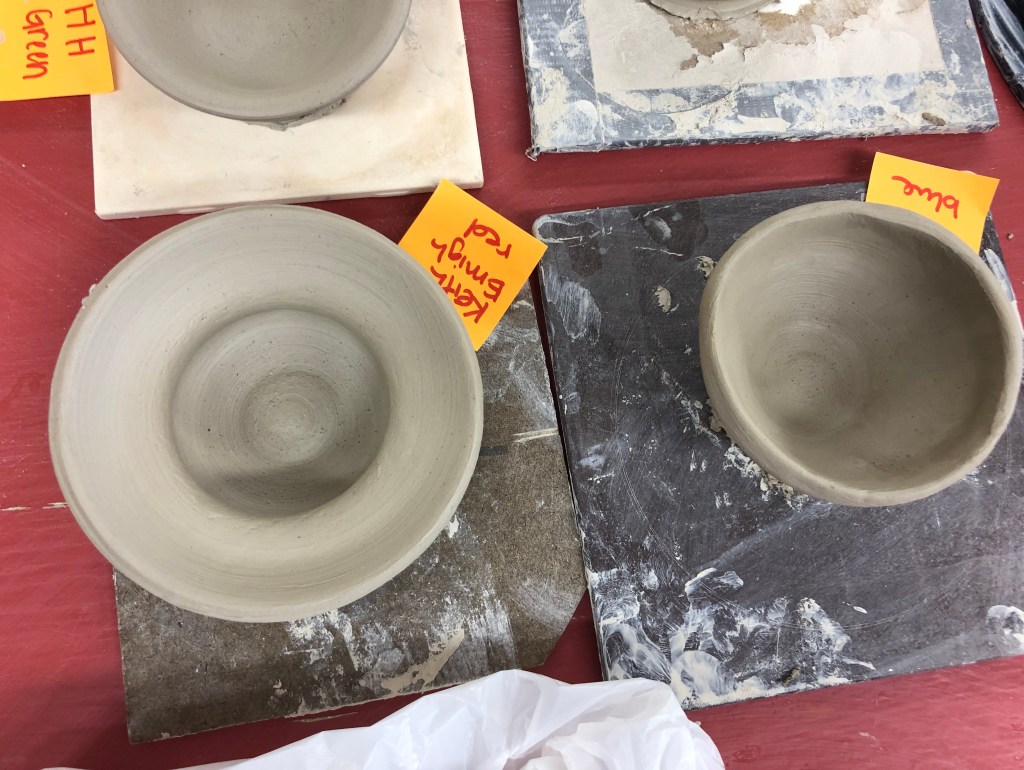
As you may recall, our April Create Date was a frustrating and unsuccessful pottery night. Because of the generosity of the owner of Bareclay Studio, we were able to give it another shot at the end of June.
Keith ended up coming but not working for very long because he wasn’t feeling very well. He still sat with me while I worked even though he could have driven himself home as we had driven separately. I made the interesting discovery that I throw pottery left-handed. I chose the wheel next to Keith, and after I was finished with my first piece, the instructor made some comment about me being left handed. I told her that was not the case, but I am ambidextrous at some tasks. I was able to pretty quickly get two pieces that we liked ready to be glazed and fired in the kiln.
I patiently waited about a month to email and make sure that our bowls were ready to be picked up. I got to pick them up this week, and you guys, I am so glad we revisited this create date! I love how these bowls turned out – they fit right in on our Create mantel display! I am so glad I accidentally found out that I throw pottery left-handed – we may want to try this again sometime! Thank you so much to Bareclay Studio for giving us the second chance to make something we love.
While our youngest was at camp for a week we got to do a cooking class at Sur La Table at Easton. We did Tuscan Date Night because it was on a night that worked and looked like a menu that both of us would enjoy. My hubby has come a really long way in eating a variety of foods since we’ve been together, but there are still certain things he just doesn’t like. Which is easy for me at our house, but a little more difficult when we go out to a class and have to share our dishes with another couple we don’t know.
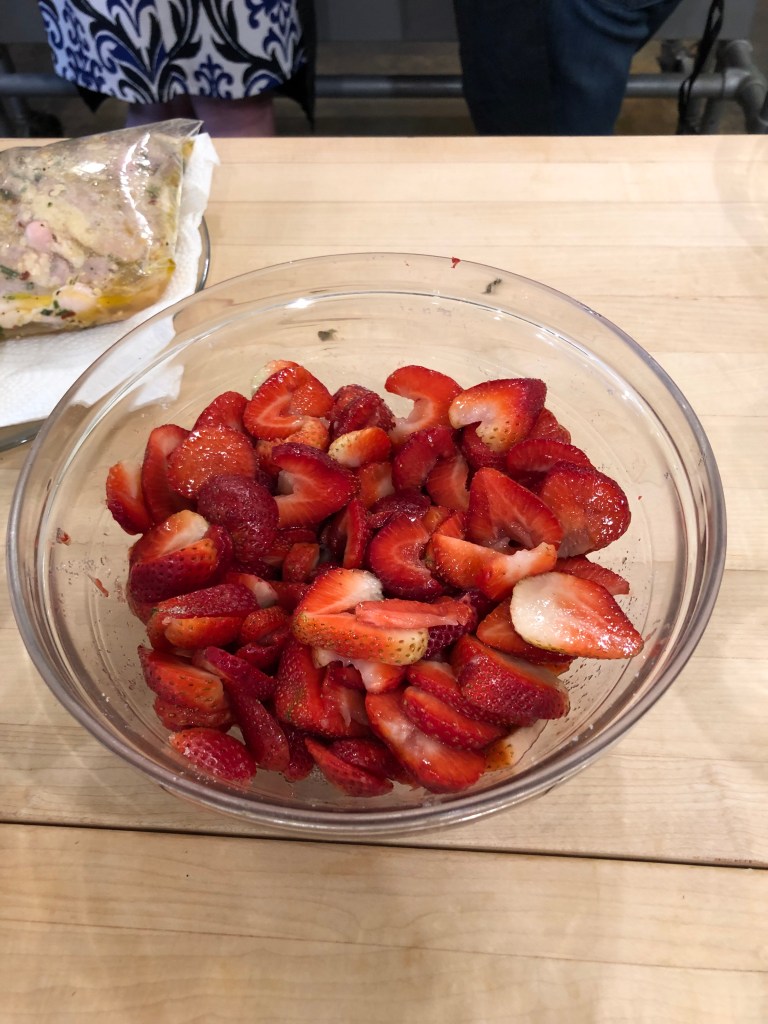
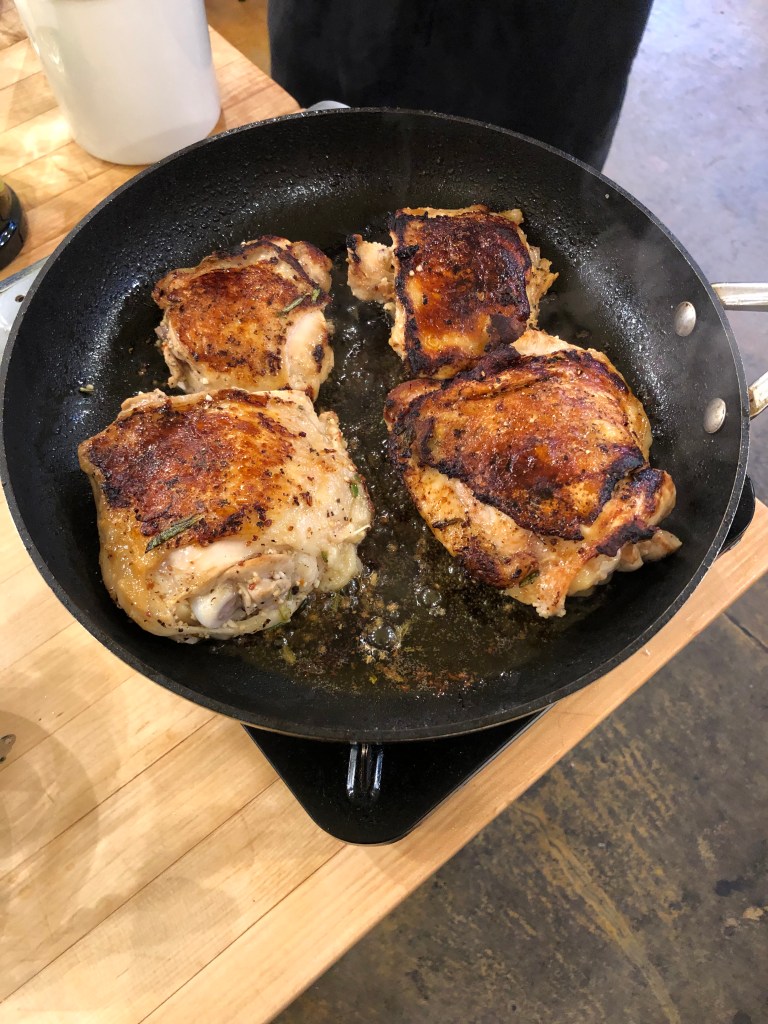
Anyway, this cooking class was great! The first thing we all did together was mise en place, a french way of saying getting everything in its place and prepared for cooking. There were just a few things to chop and mix together for the different dishes. Most things were already measured out for us, so it was definitely “cooking for dummies” type of set up. That made it pretty laid back and relaxing, so no complaints here! After everything was chopped and cleaned up, we added sugar to the strawberries to macerate them – basically to bring out some of their natural juices. We also put together the salad and dressing and drained the chicken breasts that had been marinating.
Up next was starting the risotto. We had to stir and stir and slowly add the chicken broth to get the right consistency. We cooked it to just about done and then started on the chicken. It was placed in a cast iron pan and another cast iron pan wrapped in foil was placed on top to flatten and evenly heat the chicken. It was amazing when it was done! After we took the chicken out to rest, the risotto was given a quick finish and we were ready to eat. It was so good!
We built our plates with the chicken, risotto, and salad. The chicken was my favorite – it was perfectly seasoned and really tender. I can definitely see making it again at home. The macerated strawberries were served on a light and frothy custard that the instructor made for us – I forgot to get a photo, but it was phenomenal!
We definitely enjoyed this create date and would recommend it to others. We would like to go back to the sushi class sometime. What kind of cooking class would you like to take? Let us know in the comments!
It’s May – but I prefer to refer to it as May-hem! So much going on all month long! I knew that if we were going to get our dates in, we were going to have to be really organized about it. So, we actually did our create date a couple of weeks ago. I am just now able to take a minute to write about it. Because, May-hem. But I digress…
This month, there was a Mother’s Day Potting Party at Mulch 1st Landscape Supplies in Johnstown. I have wanted a couple of planters for our front landscaping for a few years now, so I jumped at the chance to have a create date and get planters! I love it when I can kill two birds with one stone. So very convenient!
We were given two planters and we got to pick out 6 plants each. The front of our house gets a lot of direct sun, so we had to stick with full-sun varieties. I believe my planter will eventually be purples and whites, while Keith has some red, white, and purple. I love how they look in front of our garage! They will definitely be our create date products that are most seen. Perfect for Mother’s Day month! I would definitely go back to Mulch 1st for other potting parties – they made it a really nice experience!
I’m not going to lie, this month’s Create Date was hard! And not just the pottery part. You guys, we had so. many. plans. fall. through. this. month. Originally, we were signed up to do a class at the Ohio Herb Center that would let us make beard oil and some skin care things for Keith. It sounded so cool, but apparently they had low enrollment, so it was canceled. Then, we tried a Bonsai event at Franklin Park Conservatory, but it turned out to be less a class and more a club meeting. Bummer! We were going to get up and do an open workshop for My Very Own Blanket, an organization that gives blankets to kids in foster care situations, but it ended up not fitting with everything else we needed to do that day. We tried to go paint pottery, but they didn’t really have the things we were interested in painting in stock and one of us was more comfortable with painting than the other, so it wasn’t a good fit. There was a class we could do over the weekend, but Keith would have been distracted by his upcoming call-back for a play he was auditioning for, so we decided to wait. So, it really all came down to Try It Tuesday at Bareclay studio on April 30th. Talking about squeezing it in at the last minute!
We arrived at Bareclay, and after a brief explanation from our instructor, Sophia, we were set loose with our pottery wheels. This is not easy folks! It is super difficult and I really, really struggled to make a piece that I even wanted to have them fire and glaze. I think a little more instruction might have helped, but it may be that I am just not a potter. We will be giving it another go in June thanks to the owner of the studio taking pity on me, so I will let you all know.
It was not my favorite create date, but I am really glad we tried it. I can’t wait to see if our pieces turn out well. I will add finished photos in a couple weeks when we get our pieces back.
We knew that March was going to be crazy busy and we were going to have to be creative when we tried to carve out time for dates. So, we scheduled a glass shamrock sculpting class for Sunday morning. At the time, we were not thinking about Daylight Savings Time being that same weekend. So, we ended up getting home late Saturday night and losing an hour before going on our date. We were sleepy, but we were happy to be together and creating!
Read for our instructions
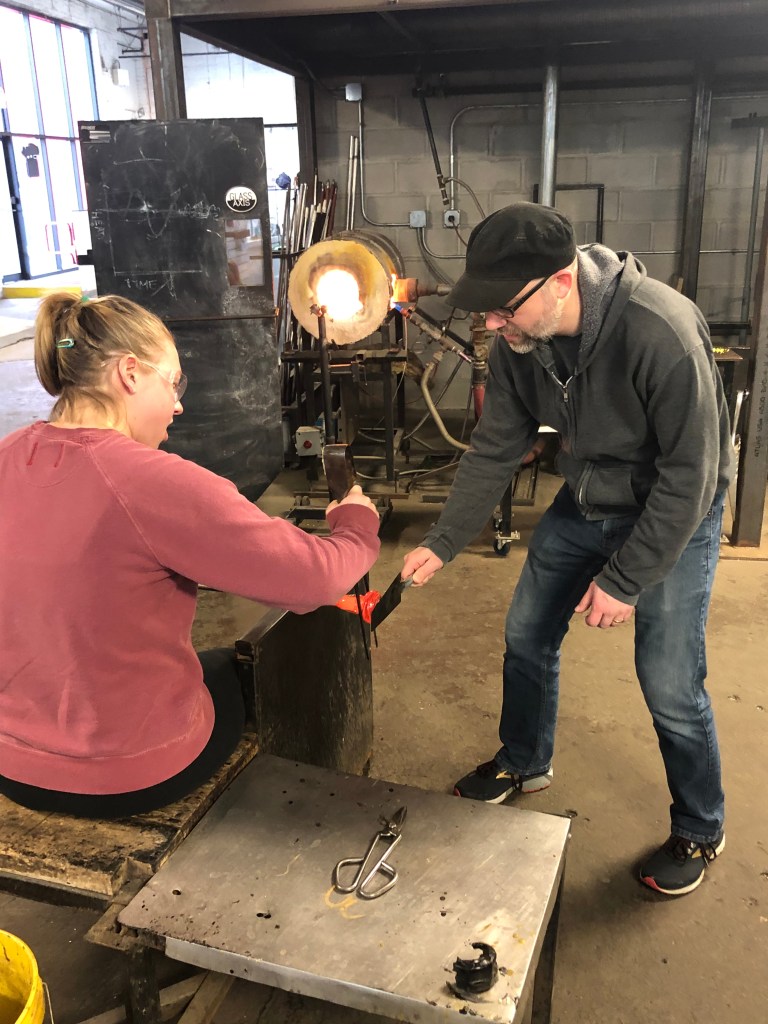
We went to a place called Glass Axis here in Columbus. Our daughter took an ornament blowing class from them in January, so we were already a little familiar with the workshop. We did not get to blow glass, but we got to sculpt it into shamrocks in two different ways. Our instructor, Emma, gave us a quick demo and then it was our turn. In a wonderful turn of events, we were the only two people in the class, so it was super fun and we got great attention.
Gathering glass
Just gathered glass
Coloring the glass with sprinkles
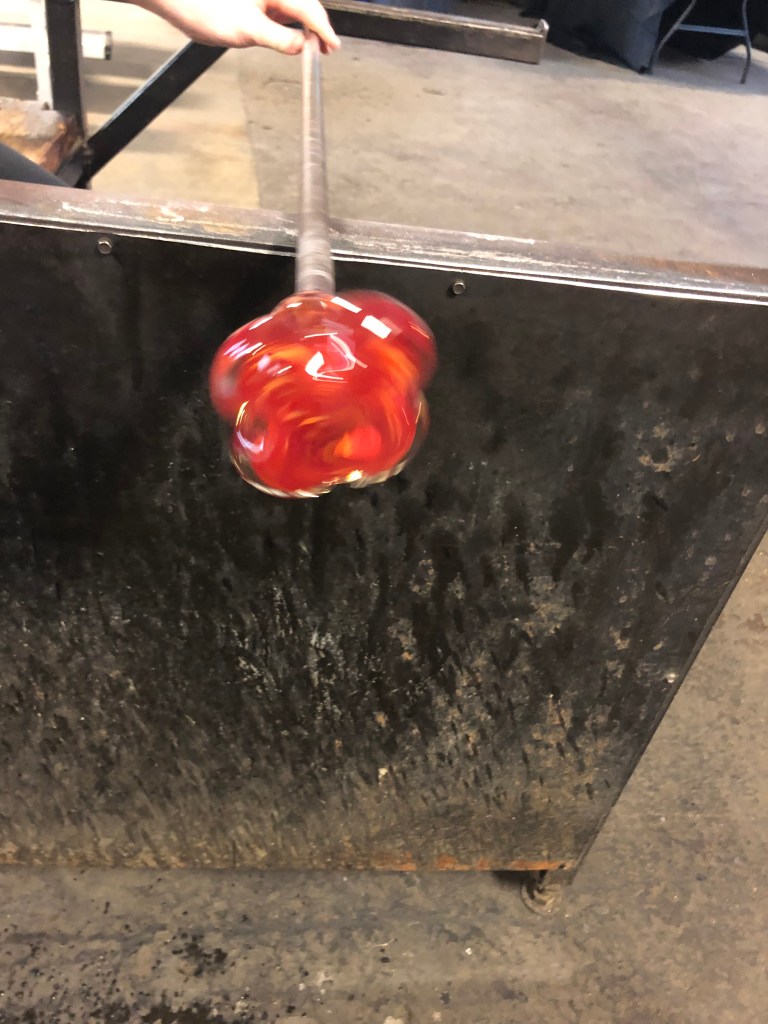
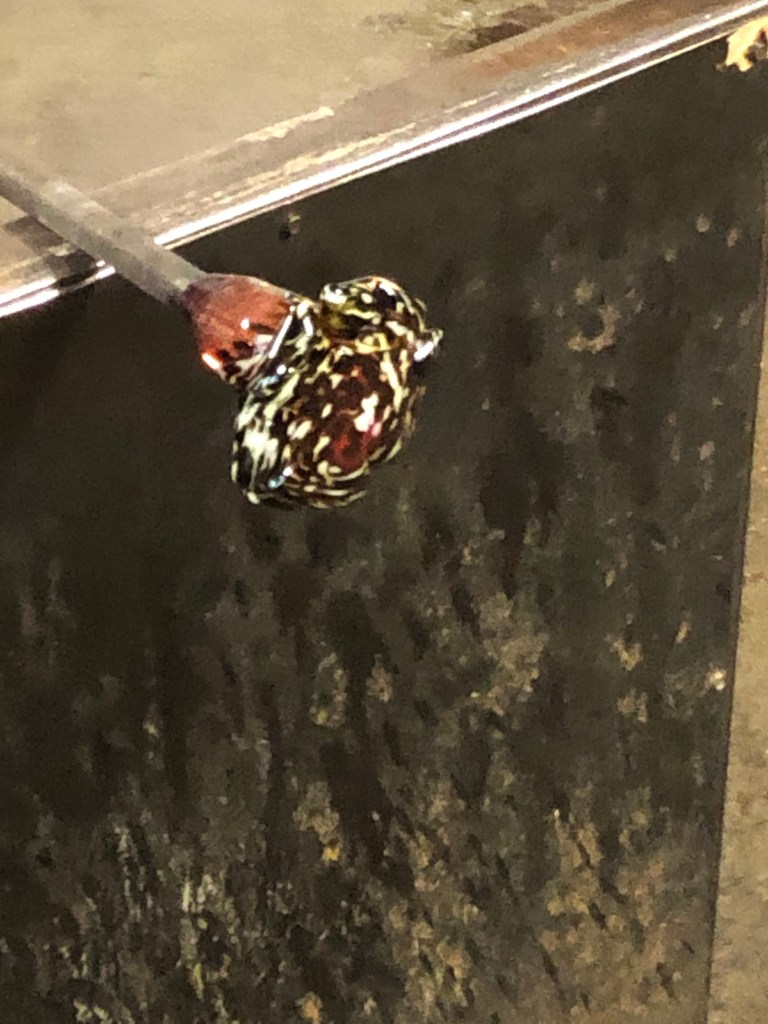
I went first to make my shamrock. I decided to do the more rounded shamrock with color inside between the two glass gathers. I used Dark Green, Light Green, and Yellow to color my piece. Emma gathered the glass for me, but I got to roll it in the color sprinkles and heat them into it. Then I helped with tools while she kept it moving at the right speed and heated to the right temperature. It was fun to sculpt the glass and I was really excited with how it was turning out. And then, in a freak accident, my shamrock was cracked completely in two. I decided to mourn for a bit while Keith made his and then try again.
Rolling the glass in sprinkles
Heating the glass in the blast oven
Shaping the glass
Flattening the glass
The colors are so different when they are super hot
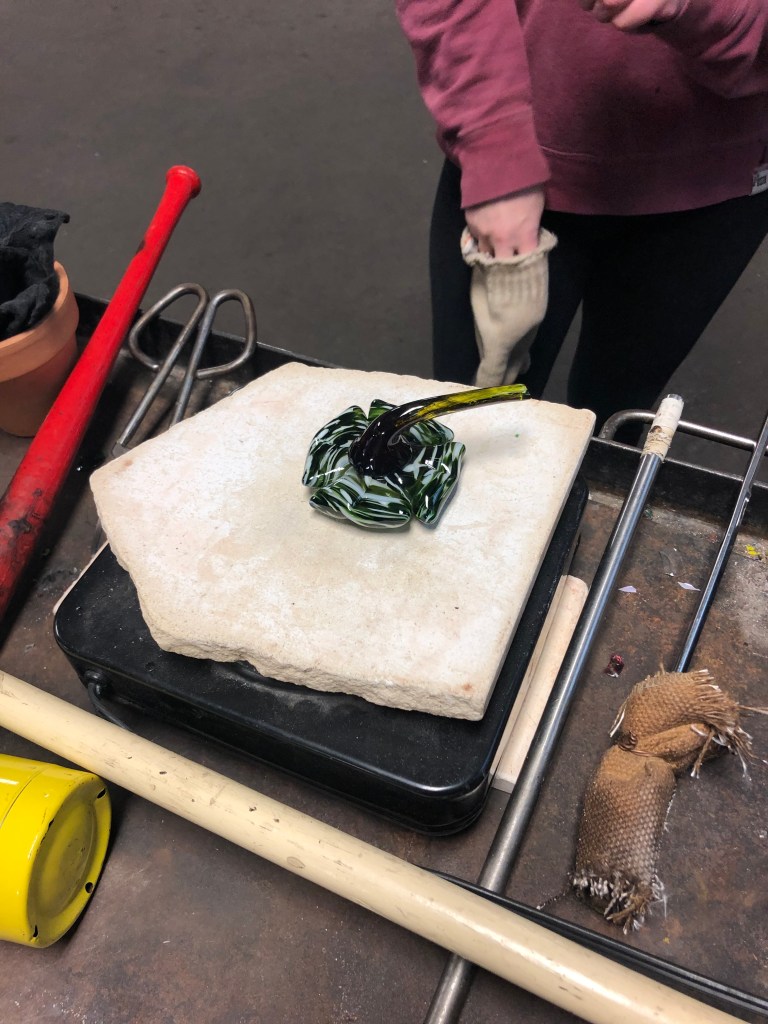
Shamrock before the stem
Shamrock ready for the cooling oven
Shamrock cracked in half… 😦
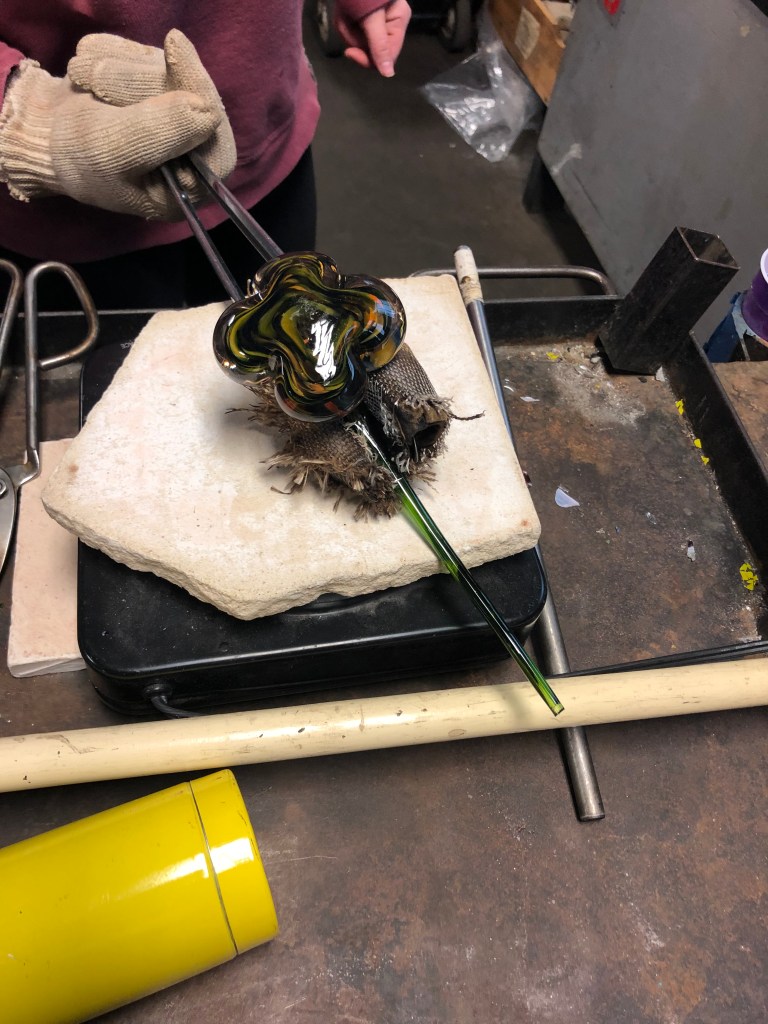
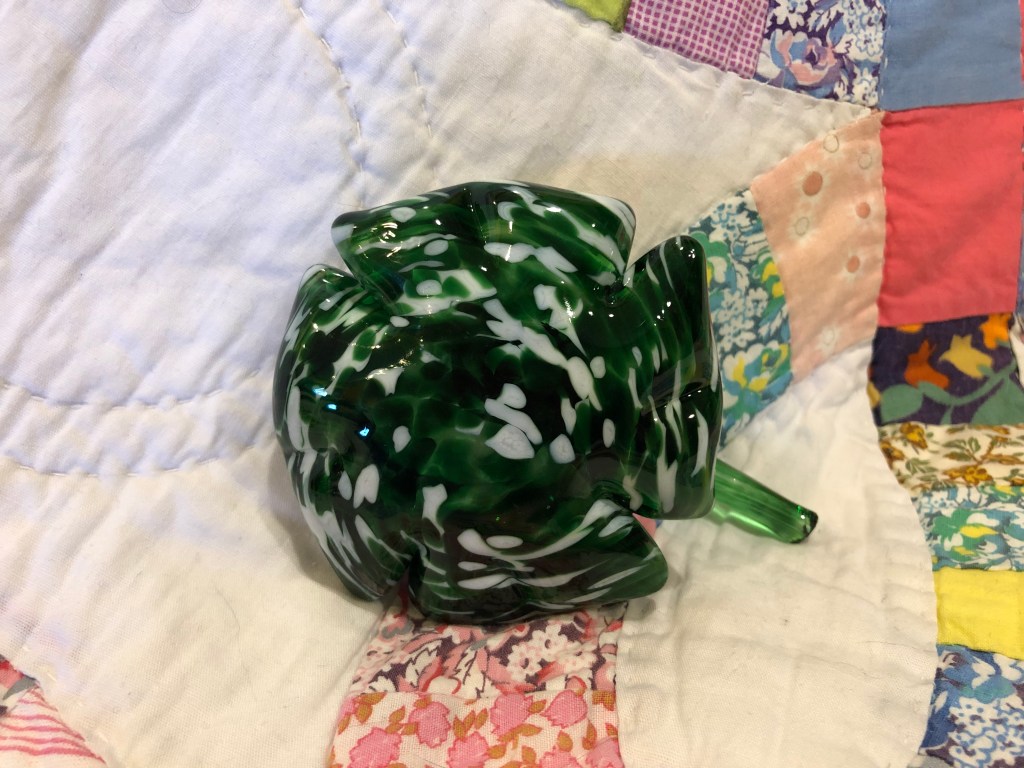
Keith made a shamrock with two glass gathers and then the color on top. He used the Dark Green and White sprinkles to color his. He also decided to do some of the shaping with scissors for a more square looking leaf. I thought he did a great job coloring and shaping his shamrock, and his arrived to the cooling oven safely the first time.
Picking up color sprinkles
Melting color into the glass
Shaping the glass
Flattening the glass
Cutting the leaves
Close up of the hot color
Ready for a stem
Headed to the cooling oven
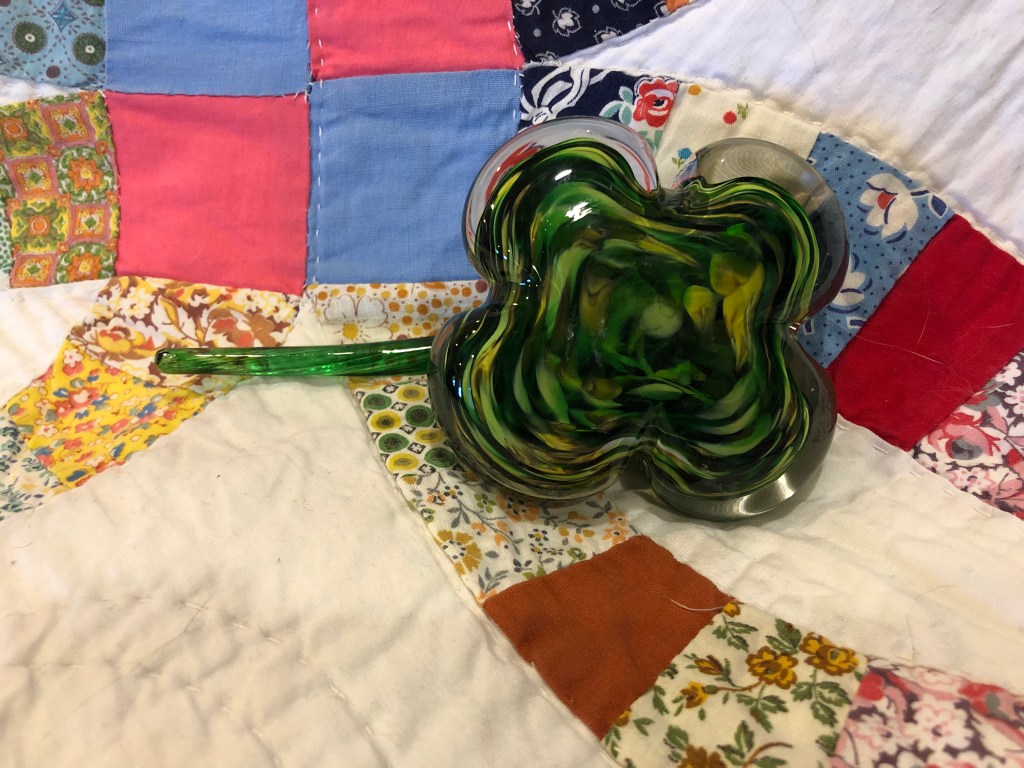
It was time for me to redo my shamrock, and I have to tell you, it was actually a blessing to get to try again once I knew a little bit what I was doing. I think my second turned out really well, and it ended up safely in the cooling oven with Keith’s.
Waiting for a stem
Emma forming the stem
I was able to pick up our cooled and bagged shamrocks today, and let me tell you, I adore them!! We will definitely be displaying these for years to come, and I love that they remind me of our Honeymoon in Ireland. We would definitely like to go back to Glass Axis for more classes in the future, and we will highly recommend them to all of our friends